Loading...
Loading...
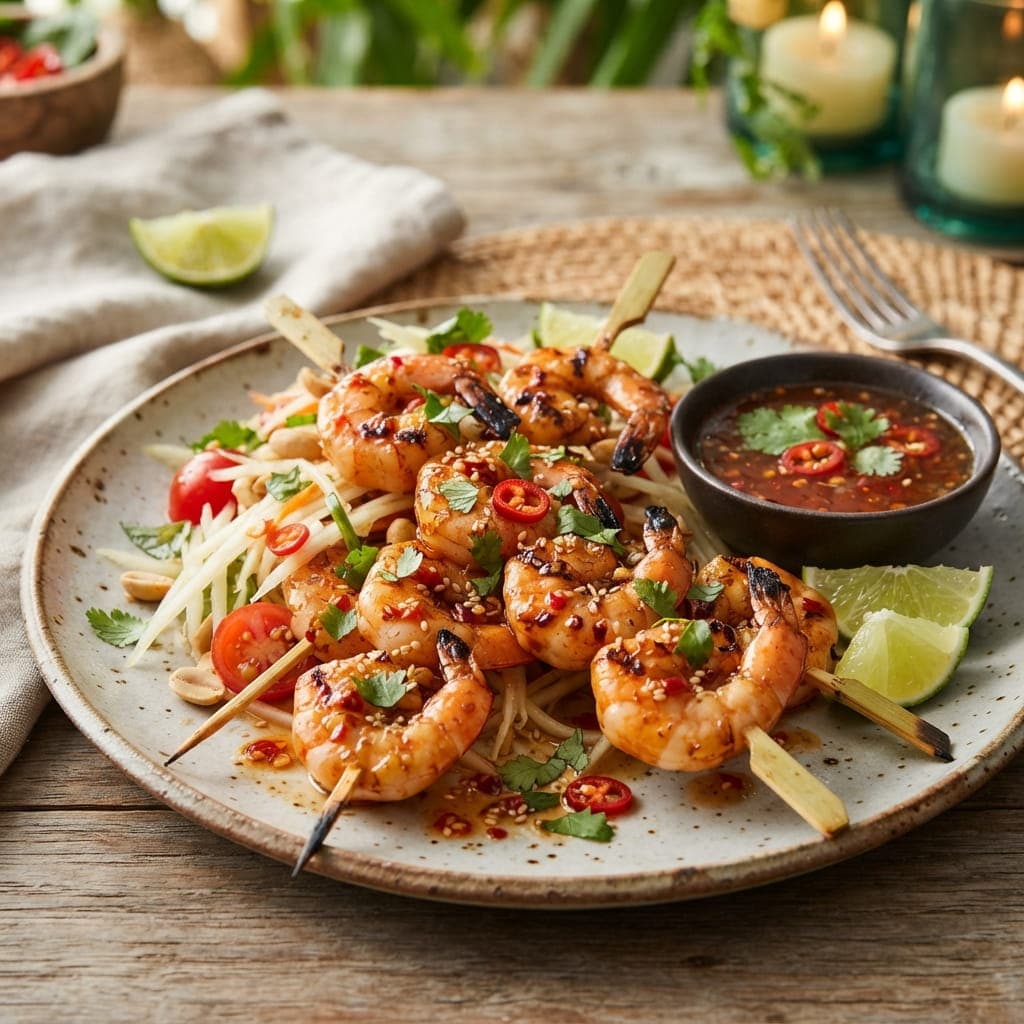
Marinating shrimp for too long in an acidic, sugary sauce can actually start to break down and toughen the delicate flesh, so this one keeps the marinating window short - just enough time to pick up flavor before a quick, hot grill finishes the job in minutes. Brushing on extra sweet chili sauce right at the end caramelizes into a sticky glaze without burning during the brief cooking time shrimp needs.
Prep Time
Per serving
180kcal
Calories
24g
Protein
14g
Carbs
3g
Fat
20 min
Cook Time
6 min
Servings
4 people
Difficulty
easy
10g
Sugar
Follow step-by-step with voice guidance.
Pat the shrimp dry and thread onto skewers (soak wooden skewers in water first if using).
In a bowl, whisk together the sweet chili sauce, lime juice, minced garlic, and fish sauce to make the marinade.
Brush the skewered shrimp with about half the marinade and let sit for 10-15 minutes (avoid marinating longer, as the acid can start to toughen the shrimp).
Preheat a grill or grill pan to medium-high heat and lightly oil the grates.
Grill the shrimp skewers for 1-2 minutes per side, until pink and opaque.
Brush with the remaining marinade during the final minute of grilling, allowing it to caramelize slightly.
Garnish with chopped cilantro and serve immediately with extra sweet chili sauce and lime wedges.
Keep the Marinating Time Short: Shrimp is delicate, and the acid and sugar in this marinade can start to break down its texture if left too long - 10-15 minutes is enough to pick up flavor without toughening the flesh. Don't Overcook the Shrimp: They cook extremely fast, turning from tender to rubbery within a minute or two of overcooking, so pull them from the heat as soon as they turn pink and opaque. Glaze at the End: Brushing on extra sauce only in the final minute of grilling lets it caramelize slightly without burning during the shrimp's brief cooking time.
It's best to keep marinating to 10-15 minutes since the acid and sugar in sweet chili sauce can start to break down and toughen the delicate shrimp texture if left too long.
0 reviews • 0.0 / 5 Average Rating
No reviews yet. Be the first to review this recipe!
More Like This
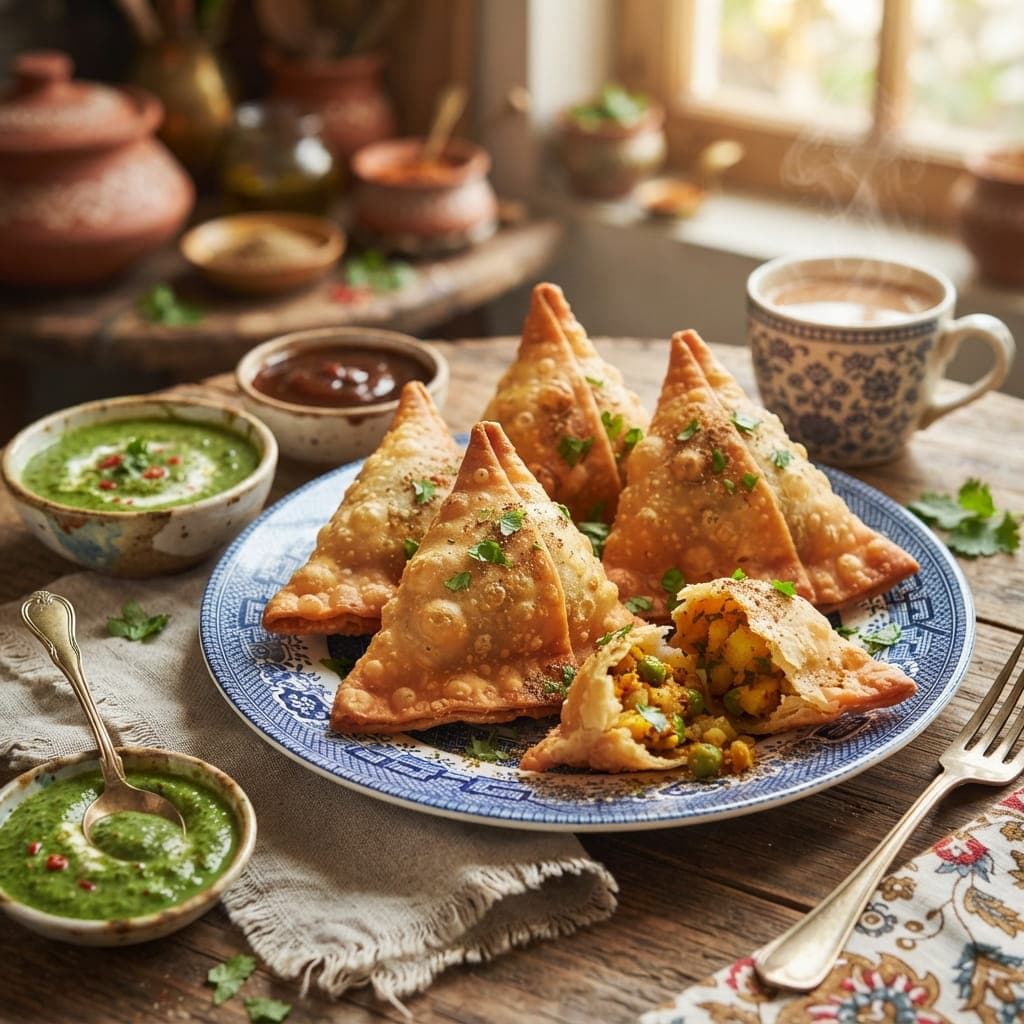
Street vendors fry samosas in two stages - low heat first to cook the pastry all the way through, then a blast of higher heat to turn the outside deep golden and blistered. Skip the first stage and you get raw, doughy pastry under a browned shell; skip the second and the samosas stay pale and soft instead of properly crisp and flaky.
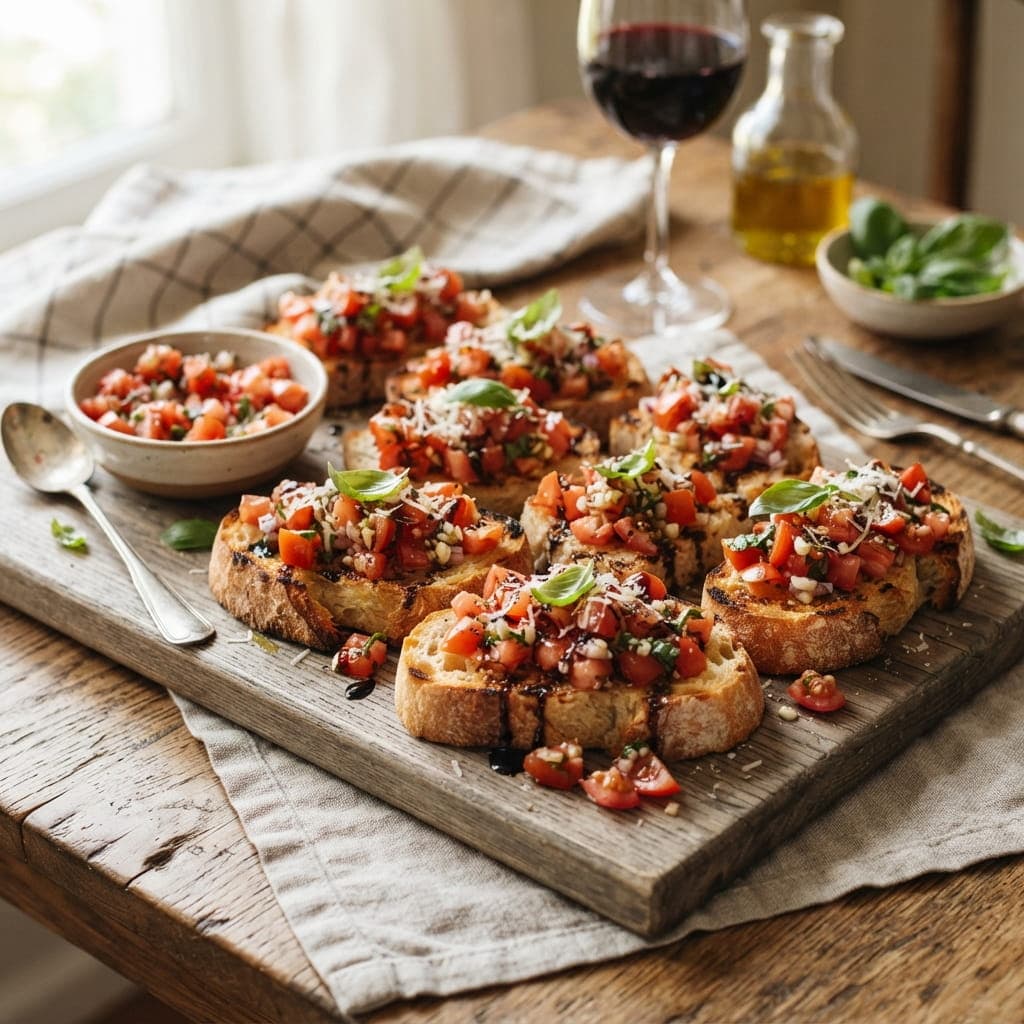
Rubbing a raw garlic clove directly onto the warm, toasted bread is the traditional finishing touch that infuses each slice with a sharp, aromatic bite no amount of minced garlic in the topping could replicate. Letting the diced tomato mixture sit for a few minutes before spooning it on lets the salt draw out excess juice, keeping the bread from turning soggy underneath.
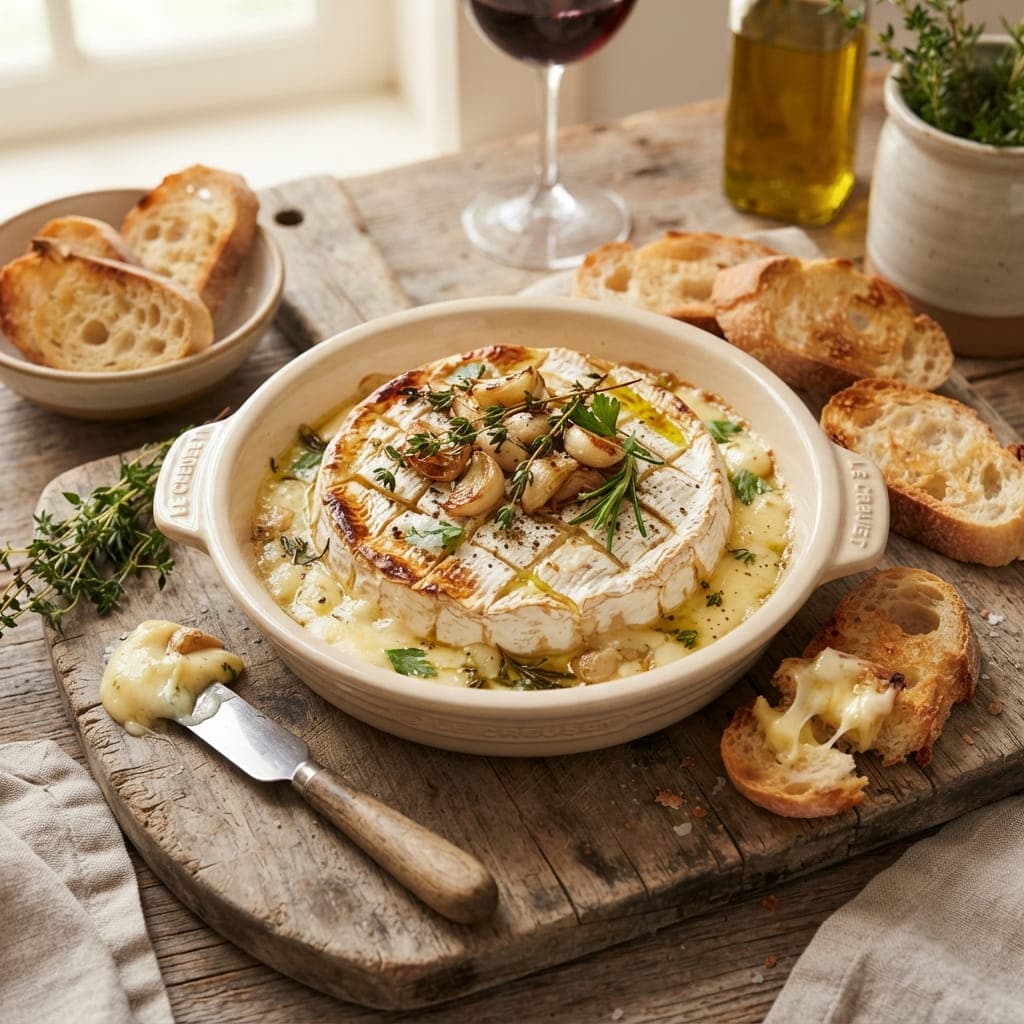
Scoring a shallow criss-cross pattern into the top rind before baking gives the garlic and herb oil somewhere to seep in, rather than just sitting on the surface. Baked just until the center turns molten, this whole wheel becomes an effortless centerpiece that needs nothing more than a knife and some bread for scooping.
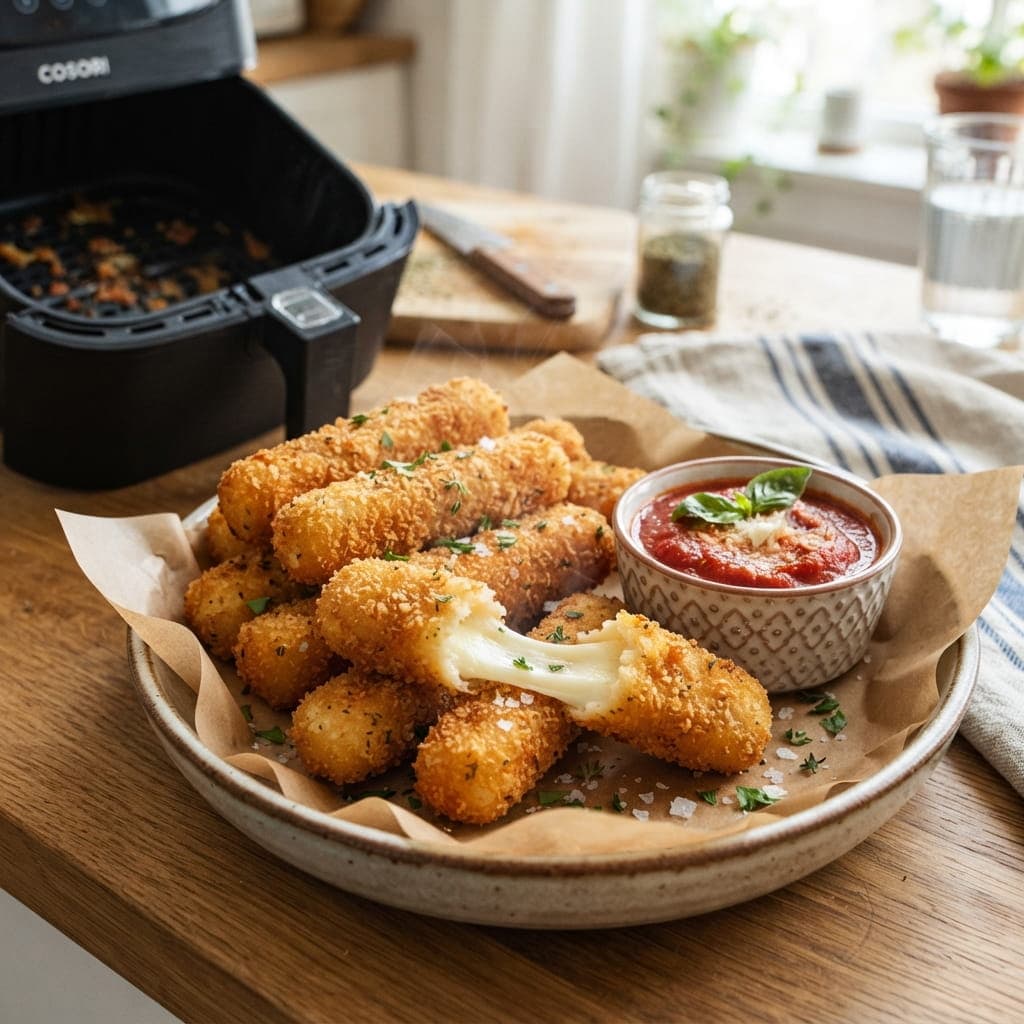
Freezing the breaded mozzarella sticks solid before they ever touch the air fryer is the step that keeps the cheese from bursting through the coating - without it, the cheese melts and escapes before the breadcrumbs even turn golden. A double coat of egg and breadcrumbs also matters here, sealing every gap so nothing but crunch surrounds the melted center.