Loading...
Loading...
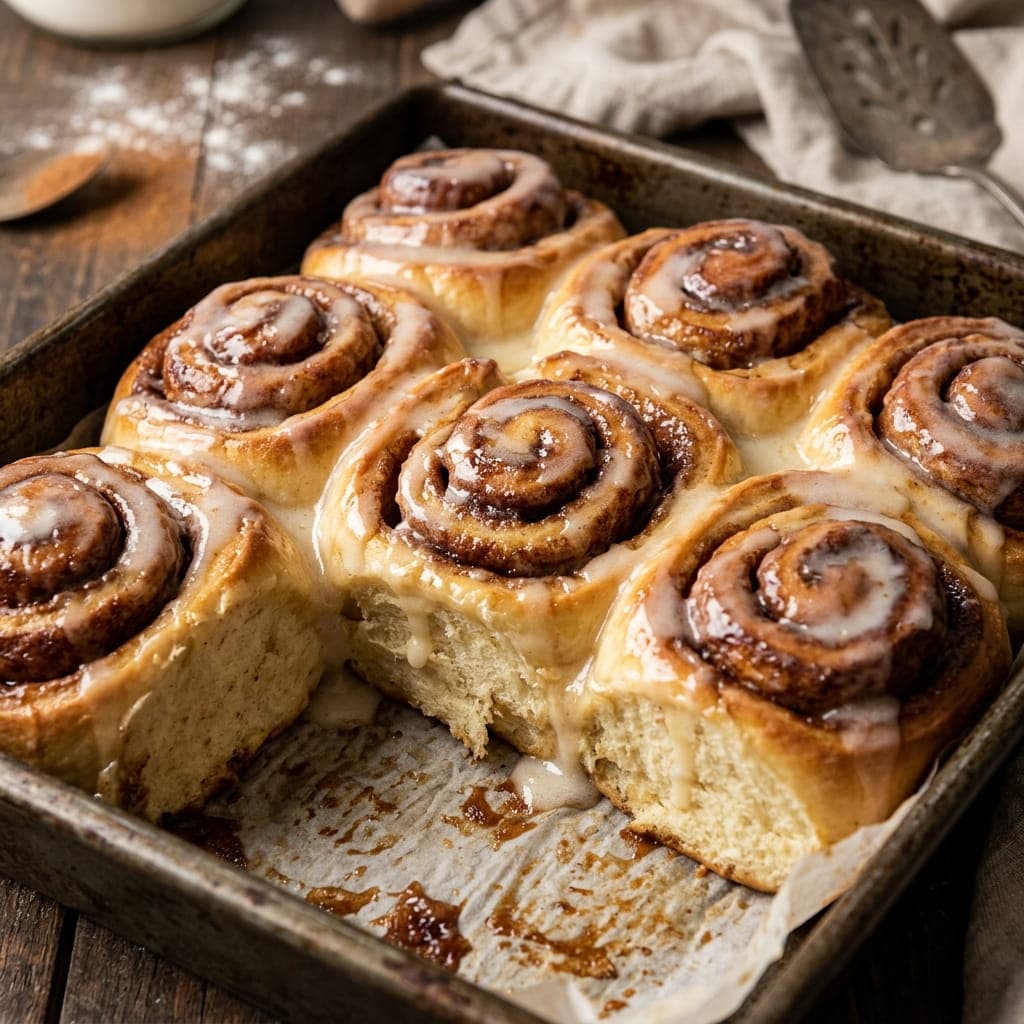
This spreads the softened butter all the way to the edges of the rolled out dough before adding the cinnamon sugar, since any bare spots are where the filling can't stick and will leak out as gaps once the rolls are sliced. Rolling the dough up tightly from the long side, rather than loosely, is what gives the finished rolls their tight, defined spiral instead of loose, uneven layers.
Per serving
340kcal
Calories
Prep Time
35 min
Cook Time
25 min
Servings
12 people
Difficulty
medium
5g
Protein
50g
Carbs
14g
Fat
1g
Fiber
27g
Sugar
Follow step-by-step with voice guidance.
In a large bowl, combine the flour, yeast, sugar, and salt.
Add the warm milk, melted butter, and egg, and mix until a shaggy dough forms.
Knead for 8 to 10 minutes, until smooth and elastic.
Place the dough in an oiled bowl, cover, and let rise for 1 hour, until doubled.
Roll the dough out into a large rectangle on a floured surface.
Spread the softened butter evenly all the way to the edges.
Combine the brown sugar and cinnamon, and sprinkle it evenly over the buttered dough.
Starting from the long side, roll the dough up tightly into a log.
Slice the log into 12 equal rolls using a sharp knife or dental floss.
Arrange the rolls in a greased baking dish, cover, and let rise for 30 to 45 minutes, until puffy.
Preheat the oven to 180°C (350°F).
Bake for 22 to 25 minutes, until golden brown.
While still warm, whisk together the cream cheese, powdered sugar, milk, and vanilla for the glaze, and drizzle generously over the rolls.
Spread the Butter to the Edges: Any bare spots on the dough are where the filling can't stick, creating gaps once the rolls are sliced, so cover the entire surface. Roll Tightly From the Long Side: A tight roll is what gives cinnamon rolls their defined spiral, while a loose roll results in uneven layers that can fall apart during baking. Use Dental Floss to Slice: Sliding a piece of unflavored floss under the log and crossing the ends to cut gives cleaner slices than a knife, which can squash the delicate spiral shape.
Yes, after slicing and arranging the rolls in the pan, cover and refrigerate overnight for their second rise, then let them come to room temperature for about 30 minutes before baking.
0 reviews • 0.0 / 5 Average Rating
No reviews yet. Be the first to review this recipe!
More Like This
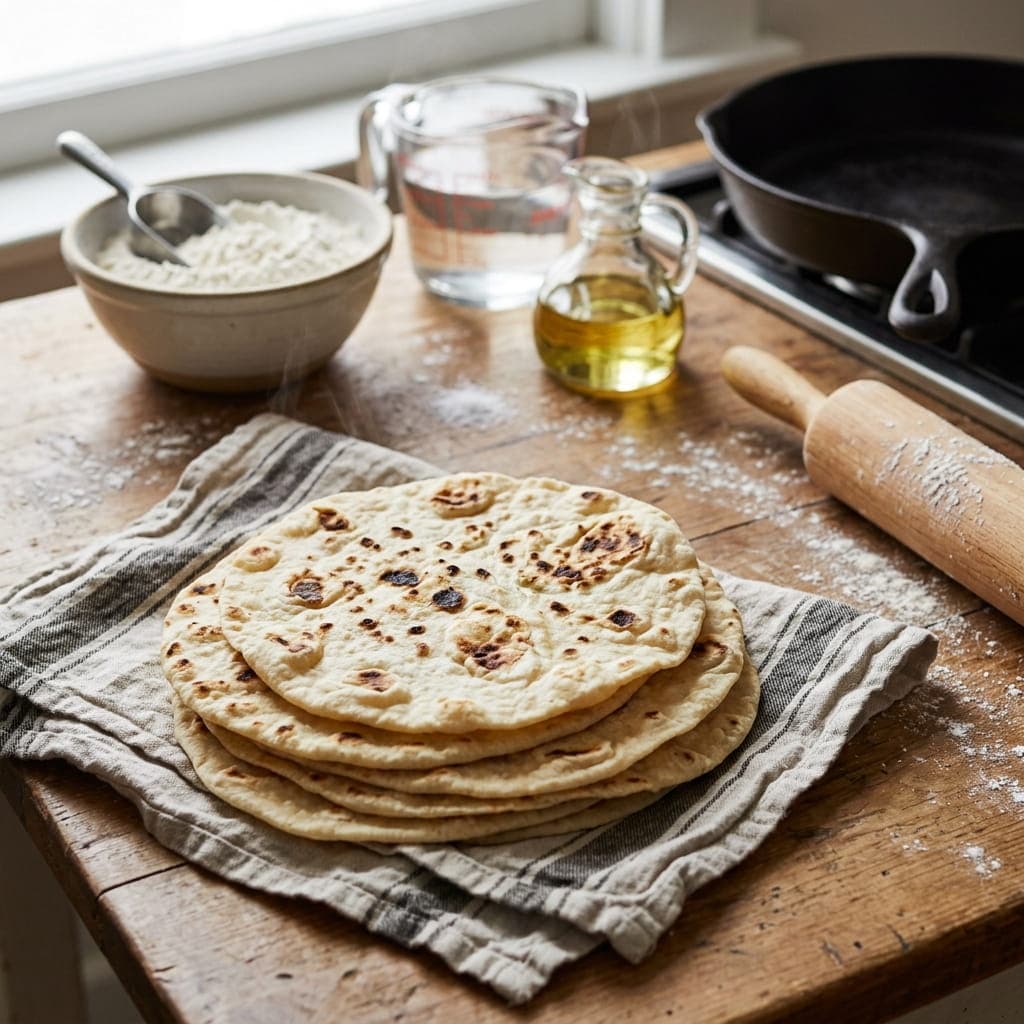
This lets the dough rest for a full 20 minutes before rolling, a step that relaxes the gluten enough to make the tortillas easy to stretch thin without snapping back into a smaller shape. Cooking them in a completely dry, hot skillet rather than one with oil is what gives these tortillas their characteristic light brown spots and soft, pliable texture.
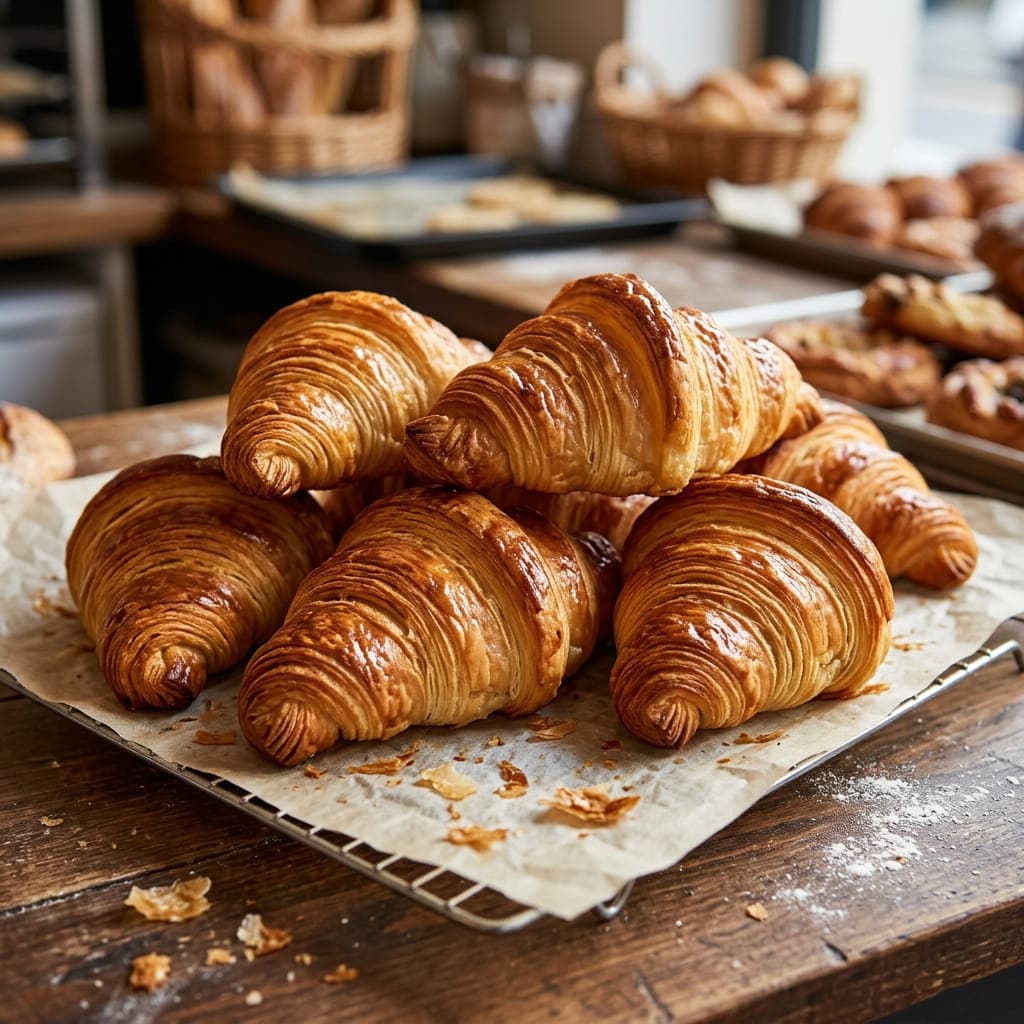
This relies on lamination, folding a solid block of cold butter into the dough and repeatedly rolling and folding it into thin layers, since it's those alternating layers of butter and dough that puff apart into hundreds of flaky sheets in the oven. Keeping everything cold throughout the process, chilling between every fold, is what prevents the butter from melting into the dough too early and turning the croissants dense instead of airy.
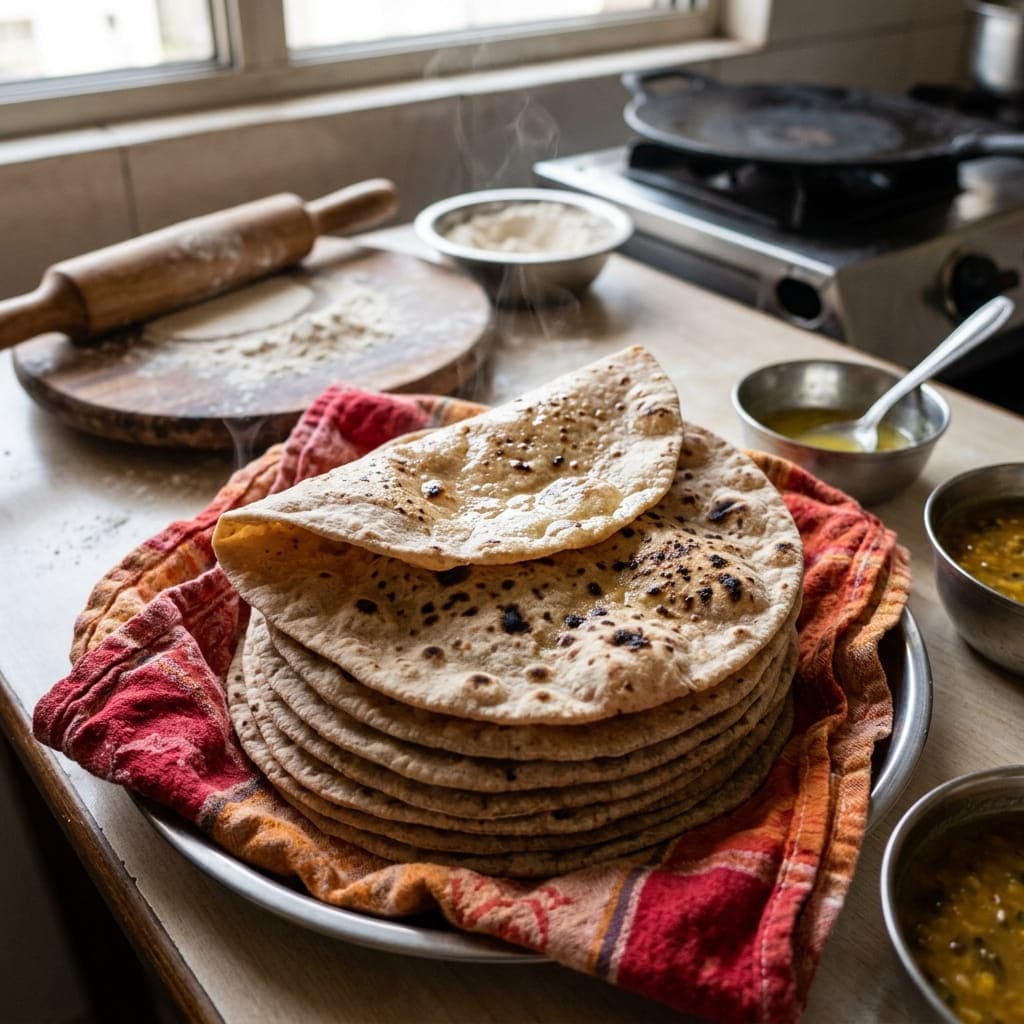
This uses whole wheat atta flour, a finely ground durum wheat flour, rather than standard whole wheat flour, since its finer texture is what allows the dough to roll out thin and pliable, closer to what's used in homes across India. Finishing the roti directly over an open flame for a few seconds after cooking on the tawa is a traditional technique that puffs it up fully and adds a light char.
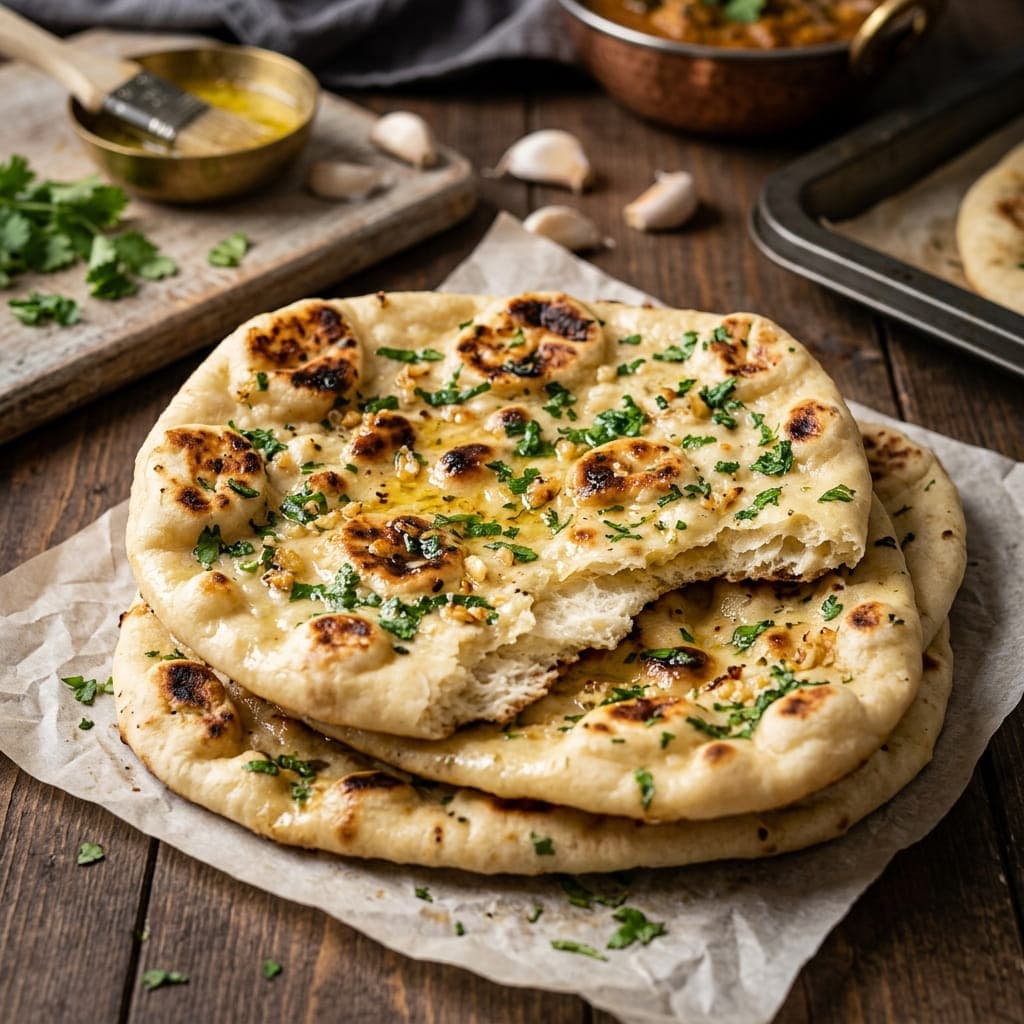
This builds the dough with yogurt instead of eggs, which is what gives naan its chewy texture and large, irregular air pockets rather than the tighter, cake like crumb that egg based versions produce. Cooking it in a screaming hot, dry skillet mimics the intense heat of a clay tandoor closely enough to get those same charred, bubbled spots without any special equipment.