Loading...
Loading...
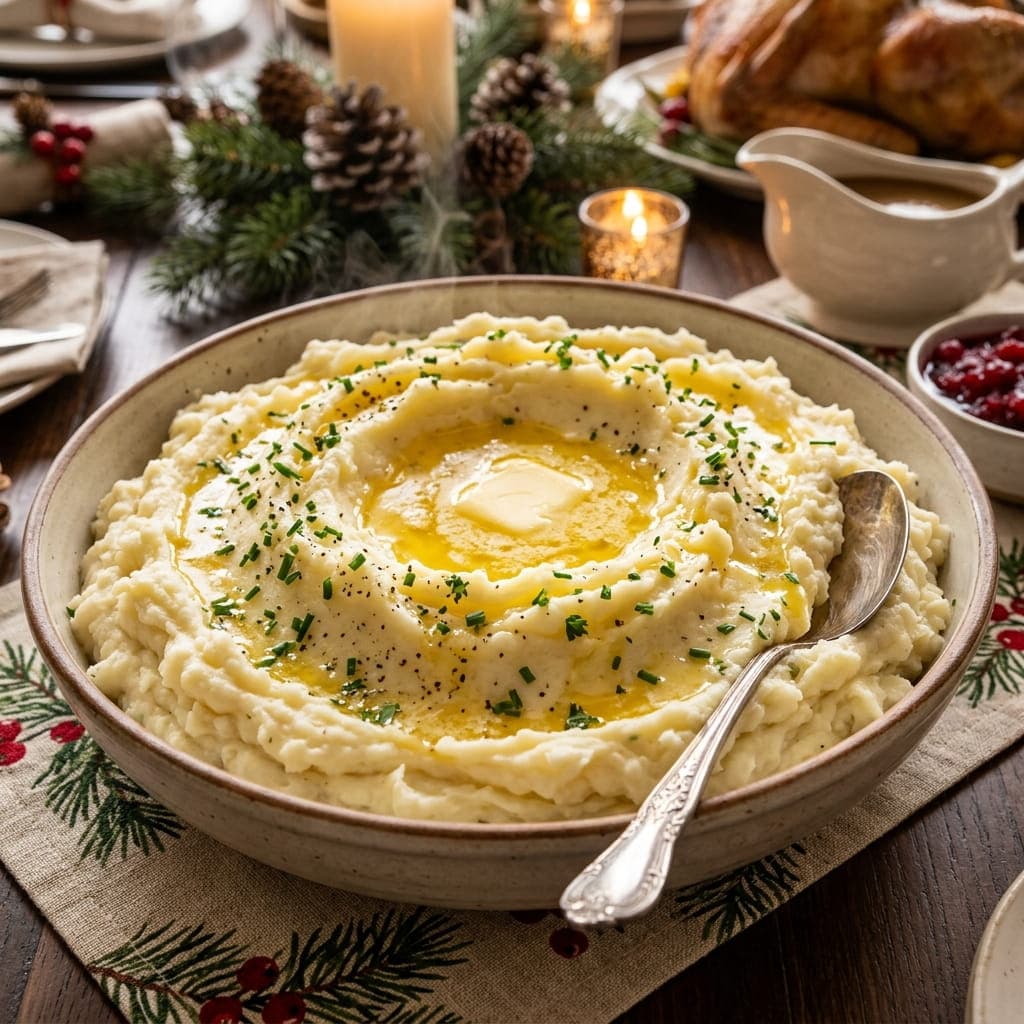
This starts the potatoes in cold water rather than dropping them into water that's already boiling, since heating them gradually together is what cooks the potatoes evenly through to the center instead of leaving the outside mushy while the middle stays firm. Warming the milk and butter before adding them to the mashed potatoes keeps the whole mixture from cooling down and turning gluey.
Per serving
230kcal
Calories
4g
Protein
30g
Carbs
11g
Fat
2
Prep Time
15 min
Cook Time
20 min
Servings
8 people
Difficulty
easy
Fiber
2g
Sugar
Follow step-by-step with voice guidance.
Peel and cut the potatoes into even chunks.
Place the potatoes in a large pot and cover with cold water.
Bring to a boil, then reduce the heat and simmer for 15 to 18 minutes, until fork tender.
Drain the potatoes well and return them to the hot, empty pot for a minute to let excess steam evaporate.
In a small saucepan, warm the milk and butter together until the butter melts.
Mash the potatoes using a potato masher or ricer until smooth.
Gradually stir in the warm milk and butter mixture, along with the sour cream, mixing until creamy.
Season with salt and pepper to taste.
Transfer to a serving bowl, making a small well in the center, and add an extra pat of butter to melt into the cavity before serving.
Start the Potatoes in Cold Water: Heating them gradually together with the water is what cooks them evenly all the way through, rather than leaving the outside mushy while the center stays firm. Warm the Milk and Butter First: Adding them cold to the mashed potatoes can cool the mixture down and make it turn gluey, so warming them first keeps everything smooth. Don't Overmix Once Combined: Stirring too vigorously, especially with an electric mixer, can overwork the potato starch and result in a gummy, paste-like texture instead of light and fluffy.
This usually happens from overmixing, especially with an electric mixer, which overworks the potato's natural starch, so mash by hand with a masher or ricer instead.
0 reviews • 0.0 / 5 Average Rating
No reviews yet. Be the first to review this recipe!
More Like This
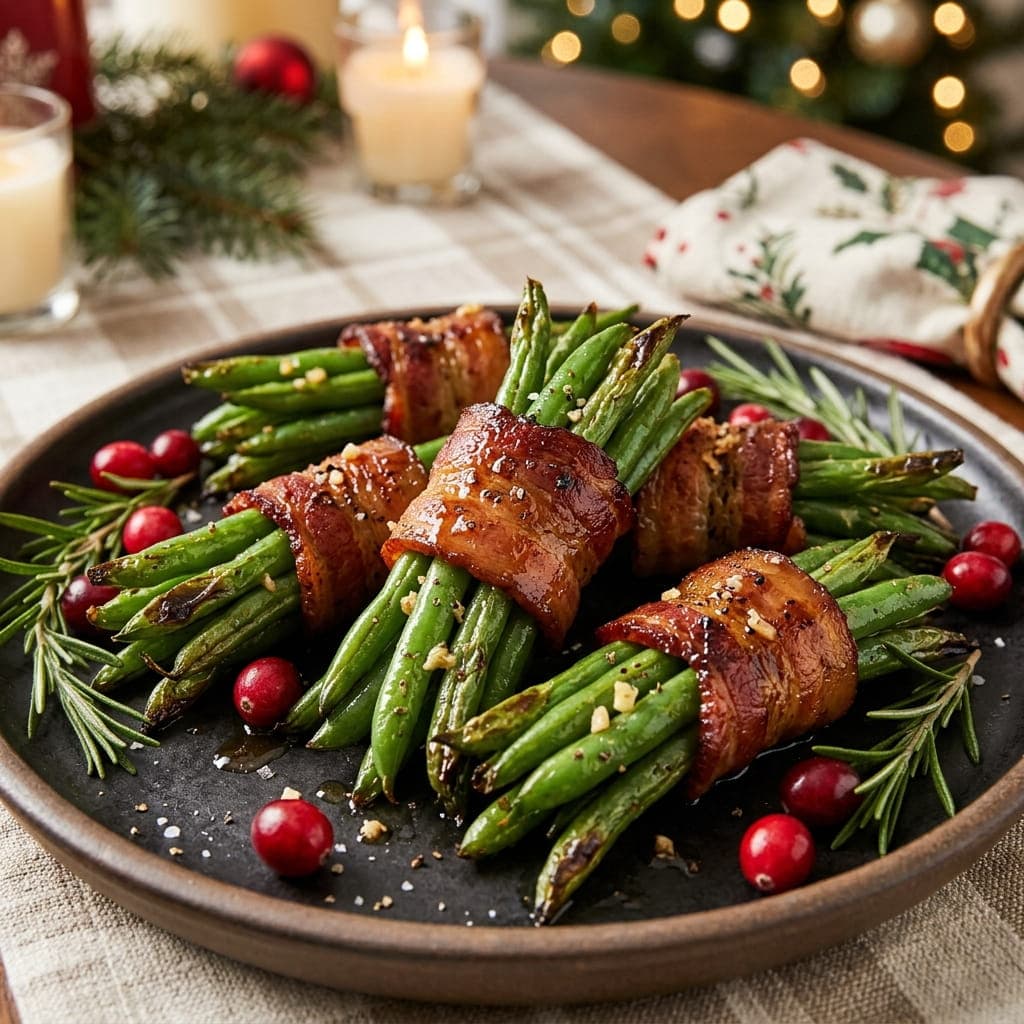
This blanches the green beans briefly in boiling water before wrapping them in bacon, which partially cooks them so they finish tender in the oven at the same rate the bacon needs to crisp, rather than the beans staying raw and crunchy while the bacon burns. Securing each bundle with a toothpick keeps the bacon wrapped tightly around the beans as it renders and shrinks during baking.
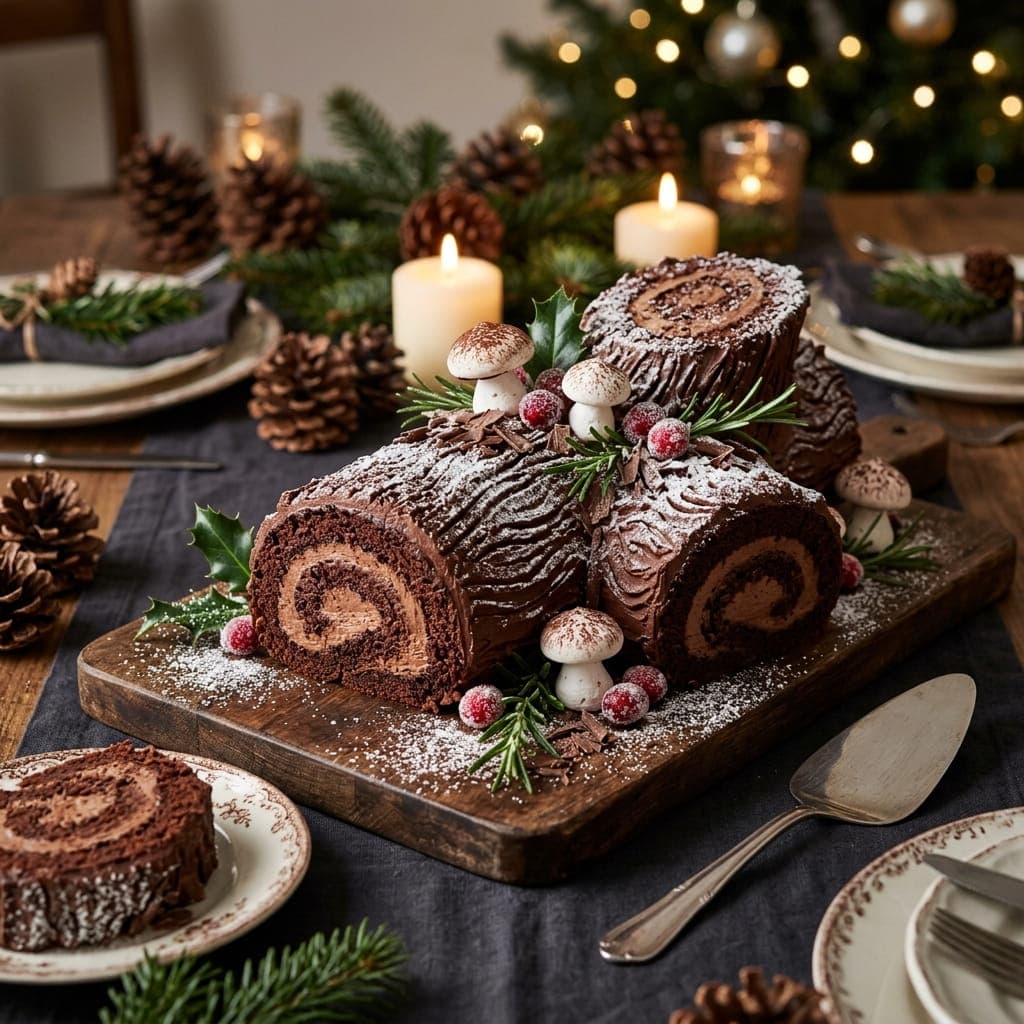
This rolls the warm sponge cake up in a towel immediately after baking, before it has a chance to cool and firm up, which trains it into a curved shape so it can be unrolled, filled, and re-rolled later without cracking. Dragging a fork through the chocolate ganache once it's spread over the outside is the classic technique that creates the log's signature bark-like texture.
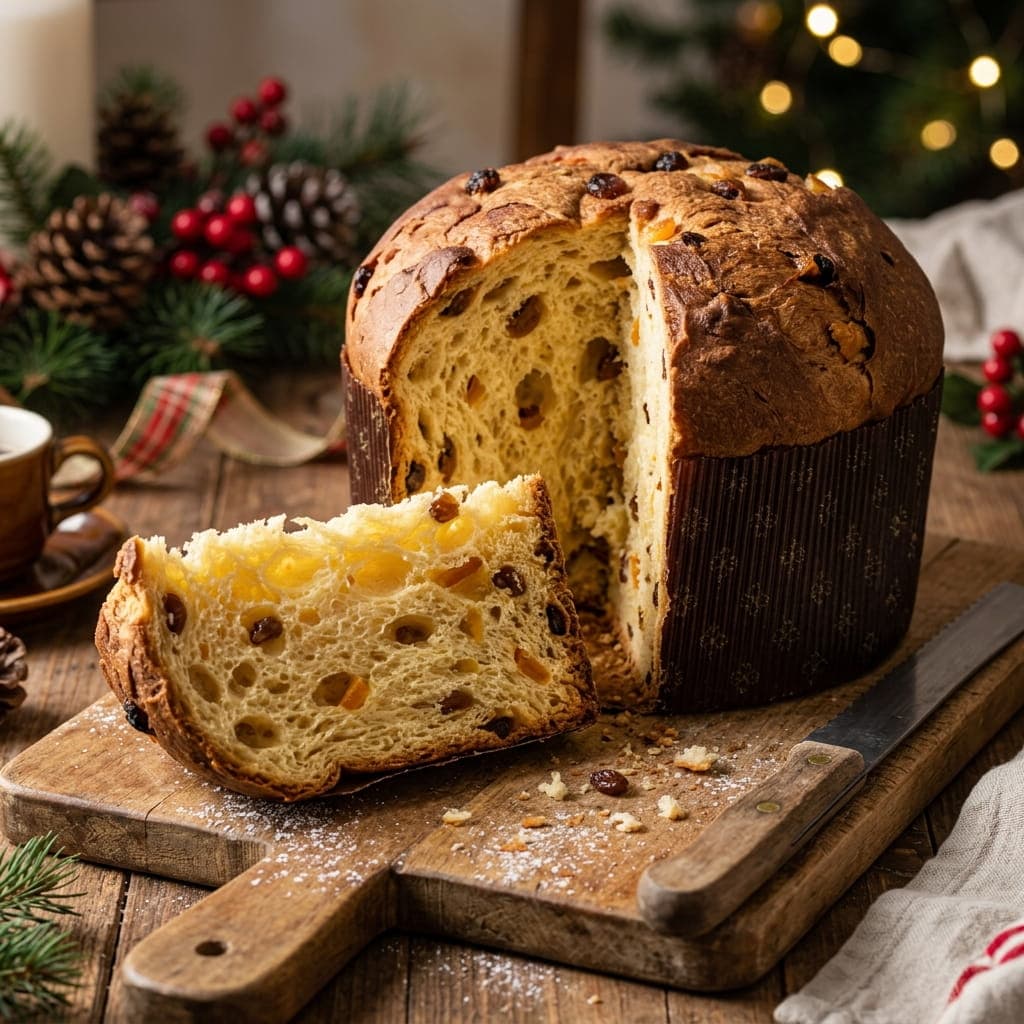
This builds the dough in two separate stages, first a smaller enriched starter dough that rises on its own, then combined with the remaining flour, eggs, and butter, which is the traditional method that gives panettone its signature light, airy, almost cottony texture over a long rise. Soaking the dried fruit in warm water or rum beforehand plumps it back up so it bakes into soft, juicy pockets rather than hard, chewy bits.

This uses a jarred or homemade fruit mincemeat, the traditional spiced mixture of dried fruit, suet or butter, and warming spices, rather than actual minced meat, since modern British mince pies moved away from savory meat centuries ago while keeping the name. Chilling the pastry thoroughly before baking is what keeps these small pies crisp and short, rather than tough from overworked, warm dough.