Loading...
Loading...
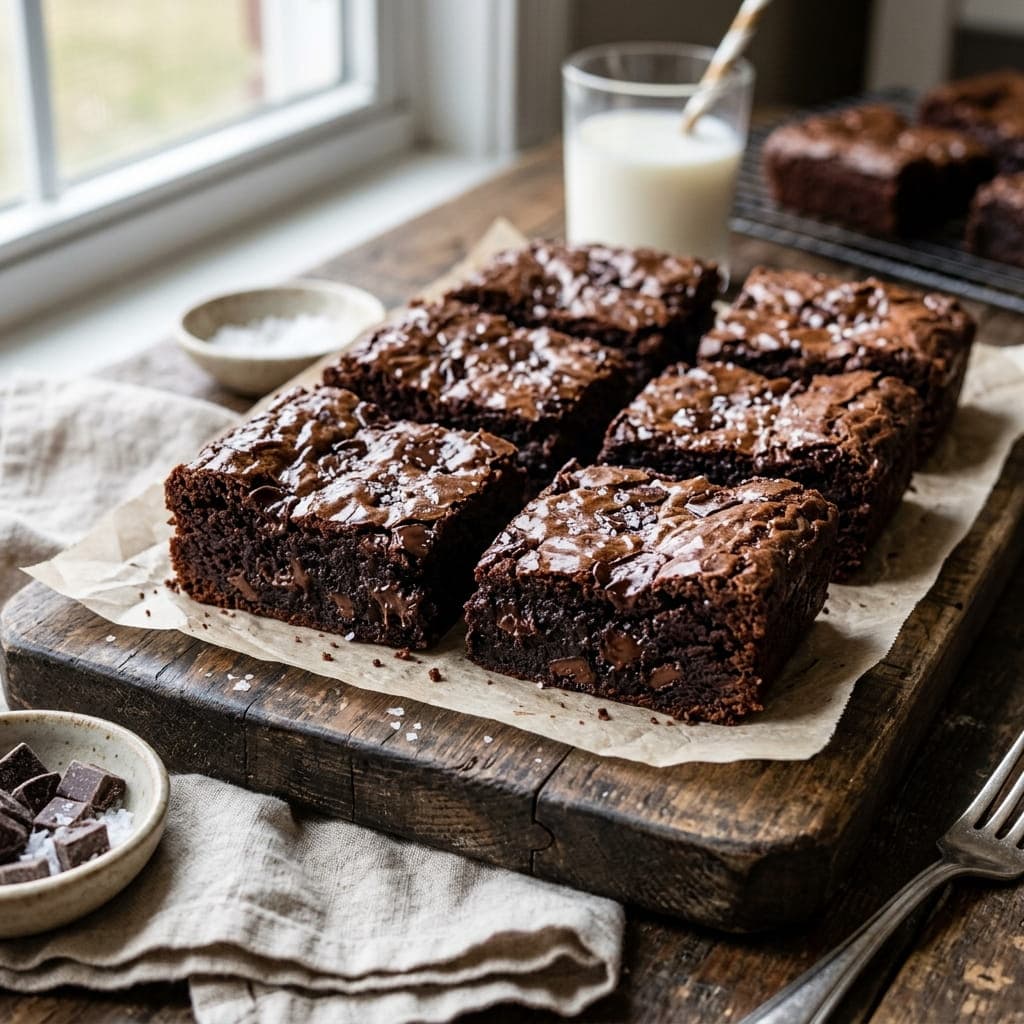
The ratio of fat to flour is what separates a fudgy brownie from a cakey one - this recipe leans heavily on melted butter and a generous amount of chocolate relative to flour, which is what keeps the center dense and gooey rather than light and airy. Vigorously whisking the eggs and sugar together before adding anything else is also what builds that shiny, crackly top bakeries are known for.
Per serving
220kcal
Calories
3g
Protein
26g
Carbs
13g
Prep Time
15 min
Cook Time
28 min
Servings
16 people
Difficulty
easy
Fat
1g
Fiber
19g
Sugar
Follow step-by-step with voice guidance.
Preheat the oven to 175°C (350°F) and line an 8x8-inch baking pan with parchment paper, leaving an overhang on two sides for easy removal.
Melt the butter and chocolate together in a microwave-safe bowl in 30-second bursts, stirring between each, until smooth. Let cool slightly.
In a separate large bowl, whisk the eggs and sugar together vigorously for 2-3 minutes, until pale and slightly thickened - this step is key to a shiny, crackly top.
Whisk the cooled chocolate mixture into the egg mixture until fully combined.
Fold in the flour, cocoa powder, and salt until just combined - do not overmix.
Fold in the chocolate chips if using.
Pour the batter into the prepared pan and smooth the top.
Bake for 25-30 minutes, until a toothpick inserted in the center comes out with a few moist crumbs (not wet batter, but not completely clean either).
Let cool completely in the pan before lifting out using the parchment overhang and slicing into squares.
Whisk the Eggs and Sugar Thoroughly: Vigorously whisking for a full 2-3 minutes before adding other ingredients is what creates that glossy, crackly top layer characteristic of bakery-style brownies. Don't Overbake: Pull the brownies from the oven when a toothpick comes out with a few moist crumbs attached, not completely clean - overbaking dries them out and pushes them toward cakey rather than fudgy. Let Them Cool Completely Before Slicing: Cutting into warm brownies causes them to fall apart - a full cool-down (even better, a couple hours) gives cleaner, more defined squares.
This usually means the eggs and sugar weren't whisked vigorously enough at the start - a full 2-3 minutes of whisking helps dissolve the sugar and incorporate air, which creates that signature glossy crust.
0 reviews • 0.0 / 5 Average Rating
No reviews yet. Be the first to review this recipe!
More Like This
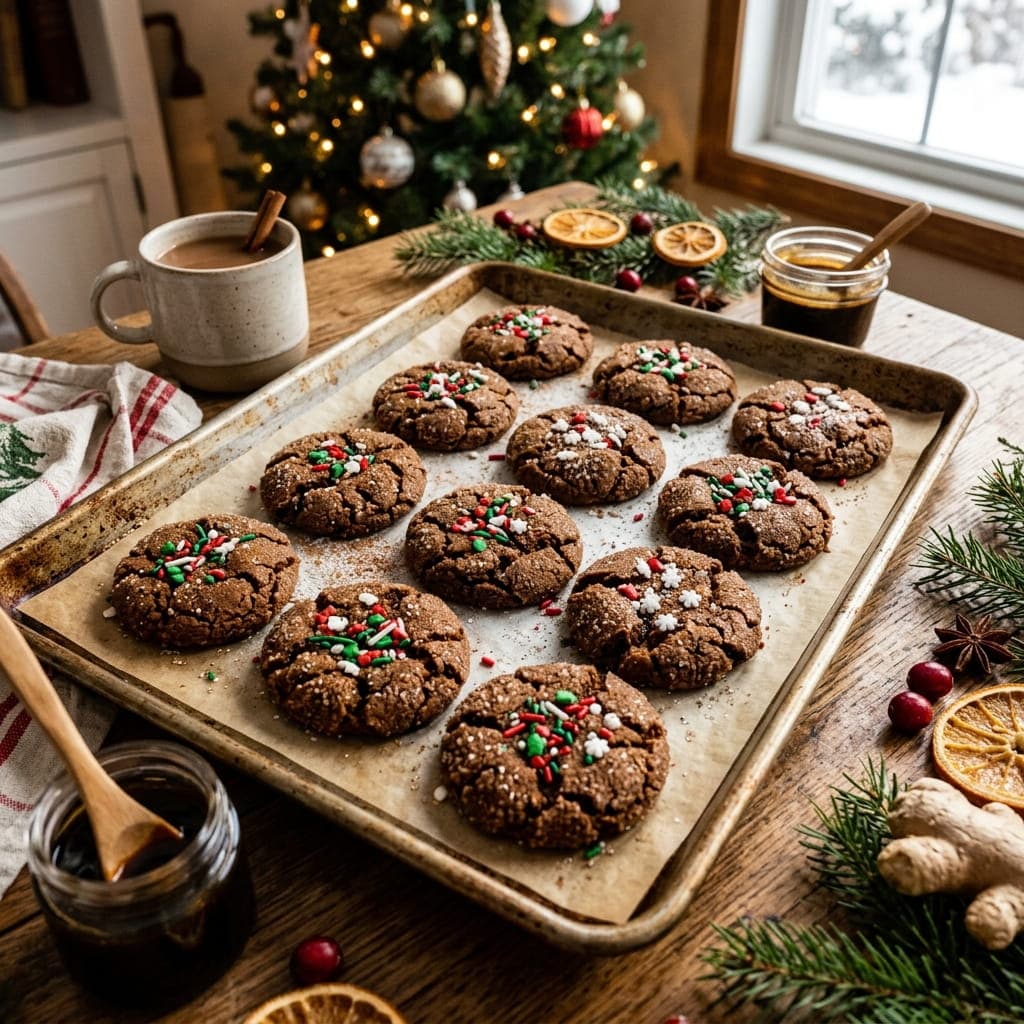
Rolling the chilled dough balls in coarse sugar before baking is what gives these their signature sparkly, crackled surface - the sugar crystals catch and hold as the cookie spreads and cracks in the oven. A generous hit of both fresh and ground ginger alongside molasses gives these real warmth and depth rather than just background spice.
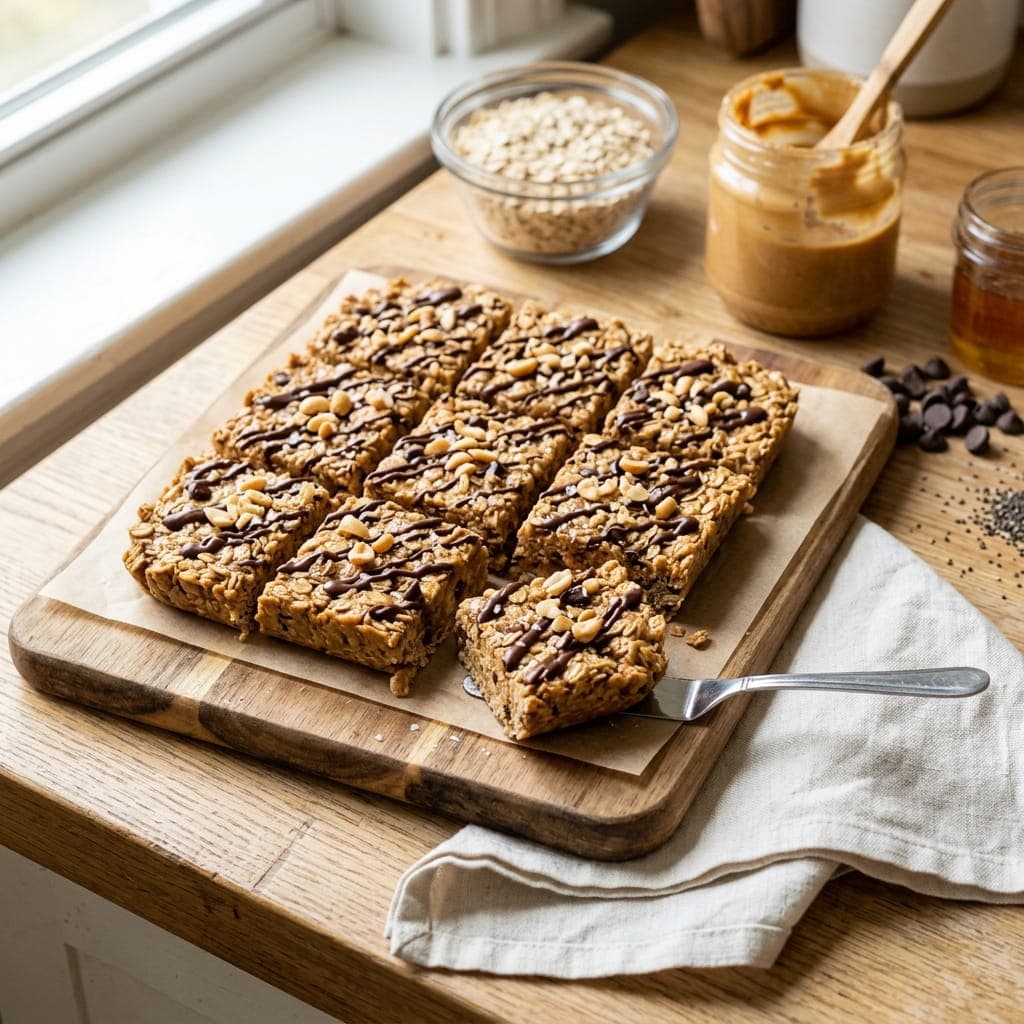
Warming honey and peanut butter together until fully melted is what allows them to properly coat every oat, rather than clumping in uneven pockets through the bars once set. With no oven and no added refined sugar, this comes together in one bowl and firms up in the fridge into something closer to a homemade granola bar than a dessert.
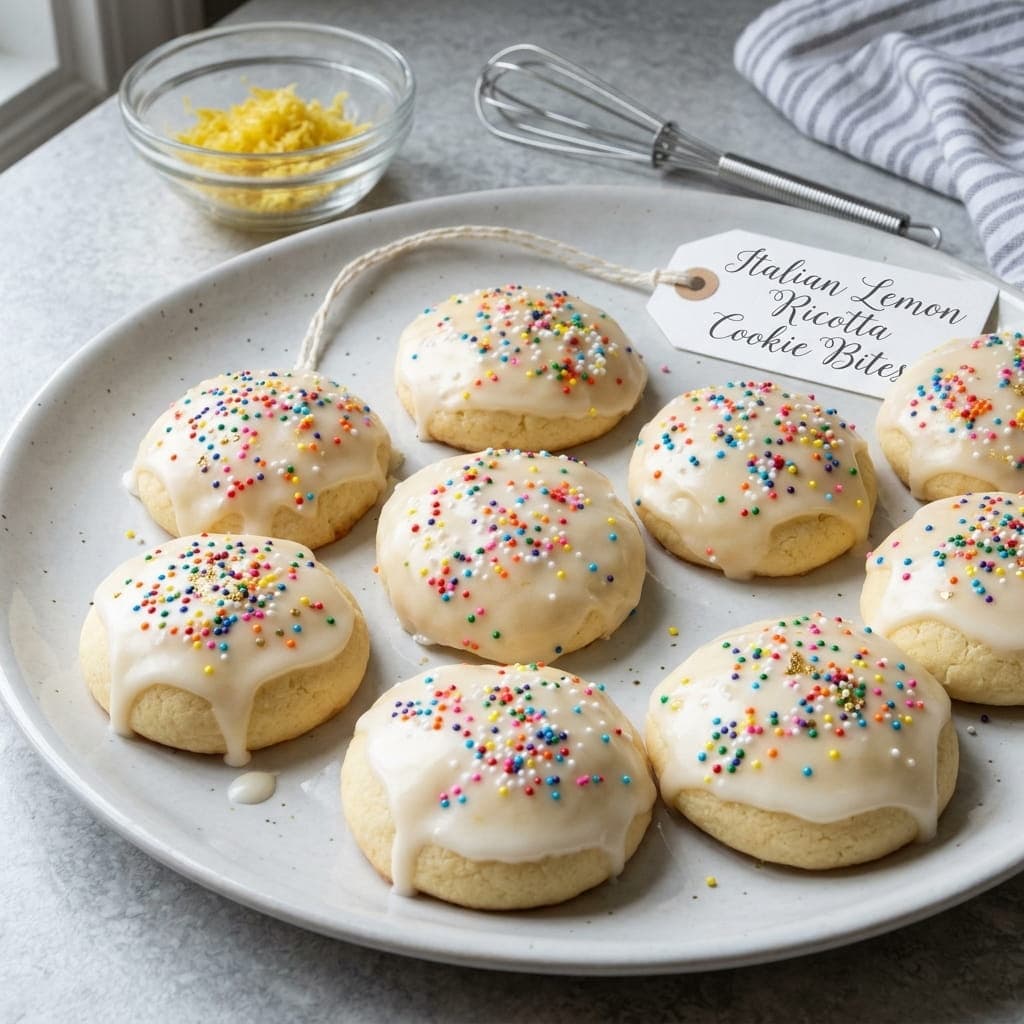
Ricotta cheese folded into the batter is what gives these their distinctly soft, almost cake-like interior - closer to a small tender muffin top than a typical crisp cookie. A bright lemon glaze drizzled over the cooled cookies plays against the ricotta's mild creaminess, making these a lighter finish to an Italian meal than a heavier dessert would be.
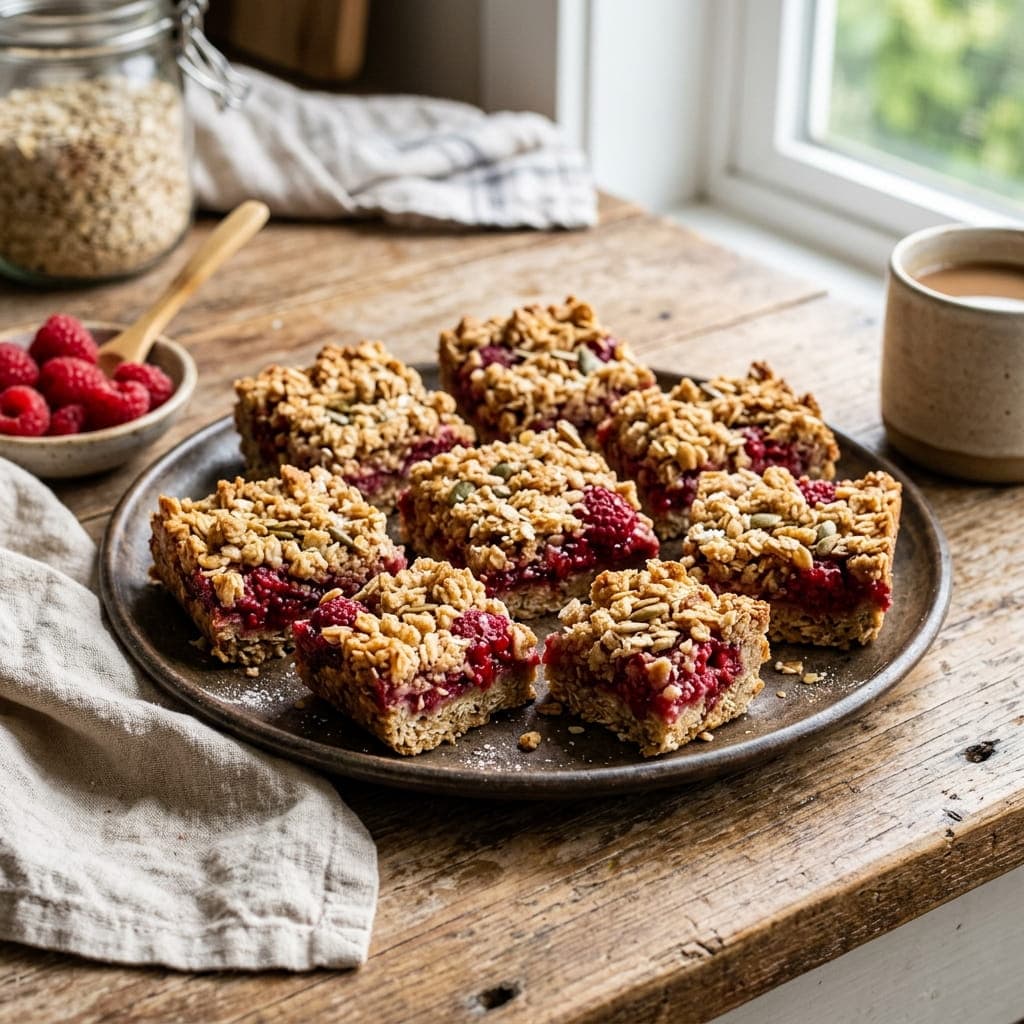
The same oat mixture is used twice here - pressed into the pan as a base, then crumbled loosely on top - so there's no need to mix a separate crumb topping. Cooking the raspberries down briefly with a touch of cornstarch thickens the filling just enough to hold its shape between the layers when sliced, without any need for eggs or dairy.