Loading...
Loading...
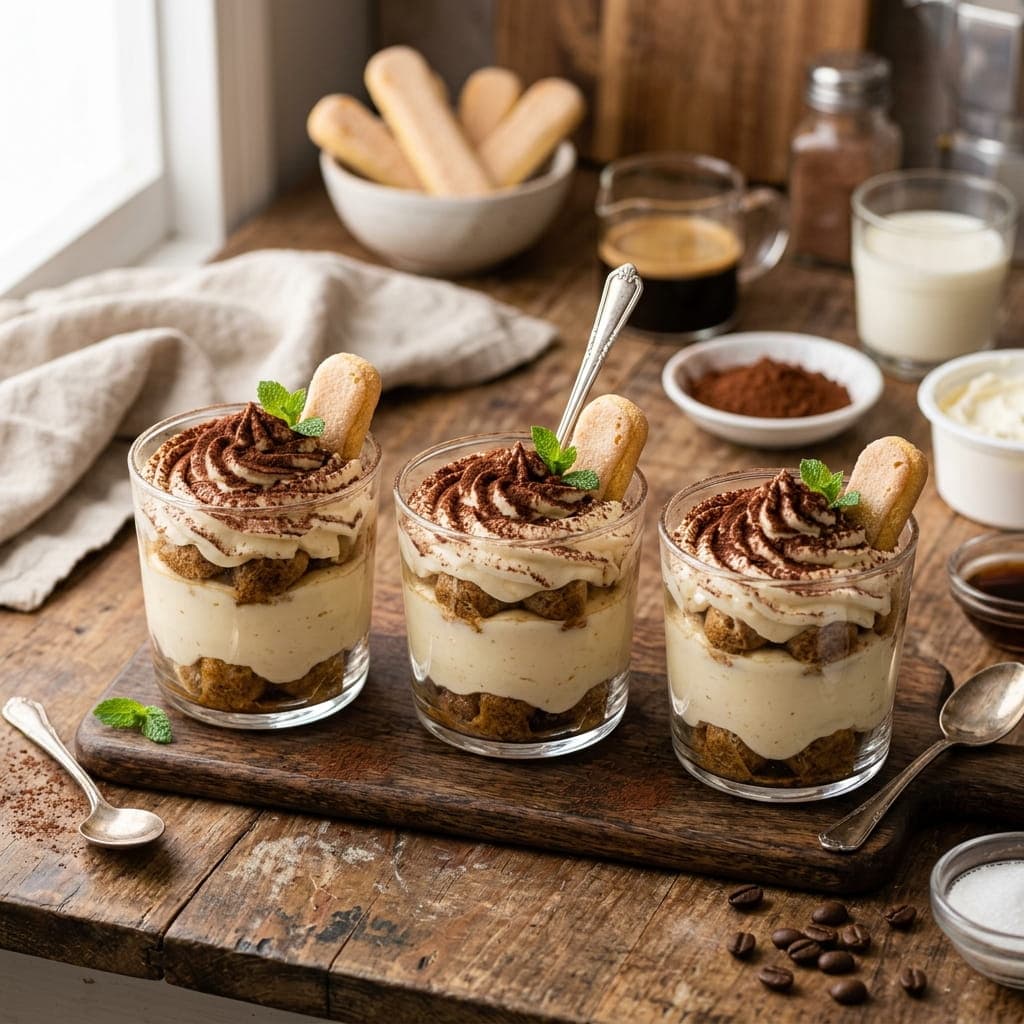
The whole trick of tiramisu comes down to timing - dip the ladyfingers too long in coffee and they turn to mush, too short and the center stays dry and firm. A confident one-second dip per side is the sweet spot, letting the biscuit soak up just enough liquid to soften without collapsing before it's layered with mascarpone cream in individual cups.
Per serving
380kcal
Calories
7g
Protein
28g
Carbs
27
Prep Time
30 min
Cook Time
0 min
Servings
6 people
Difficulty
medium
Fat
18g
Sugar
Follow step-by-step with voice guidance.
In a bowl, whisk the egg yolks and sugar together until pale and slightly thickened.
Add the mascarpone cheese and whisk until smooth and well combined.
In a separate bowl, whip the heavy cream to soft peaks, then gently fold it into the mascarpone mixture until fully incorporated.
In a shallow dish, combine the cooled espresso and coffee liqueur if using.
Quickly dip each ladyfinger into the coffee mixture for about 1 second per side - just enough to soak without falling apart - and layer them in the bottom of individual serving cups.
Spoon a layer of the mascarpone cream over the ladyfingers, spreading evenly.
Repeat with another layer of dipped ladyfingers and cream, finishing with a layer of cream on top.
Cover and refrigerate for at least 4 hours, or overnight for the best texture.
Just before serving, dust generously with cocoa powder.
Dip the Ladyfingers Quickly: A confident one-second dip per side is all that's needed - lingering too long turns them soggy and causes the layers to collapse, while too brief a dip leaves them dry in the center. Use Cooled Espresso: Hot coffee can partially cook the mascarpone cream if it comes into contact while still warm, so make sure the coffee has cooled to room temperature before dipping. Refrigerate for the Full Time: A minimum of 4 hours (ideally overnight) lets the layers set properly and allows the flavors to meld - serving too early results in a looser, less cohesive dessert.
Traditional tiramisu uses raw egg yolks, which carries some risk - if you're concerned, use pasteurized eggs, or whisk the yolks and sugar over a double boiler until slightly thickened before proceeding to cook them safely.
0 reviews • 0.0 / 5 Average Rating
No reviews yet. Be the first to review this recipe!
More Like This
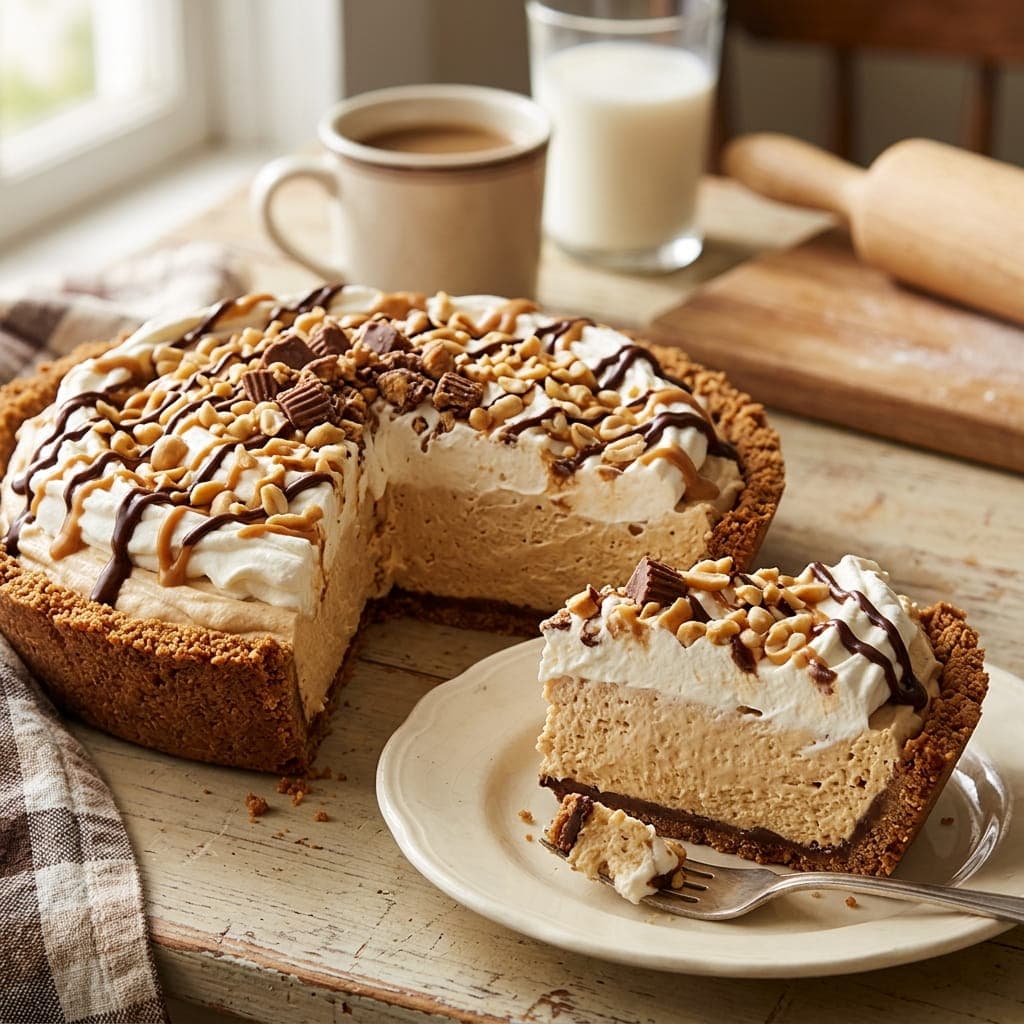
Beating the cream cheese completely smooth before adding peanut butter is what prevents lumps from ever forming in the filling - trying to fix them once the peanut butter goes in almost never fully works. A press-in graham cracker crust needs no oven at all, so from mixing bowl to sliced pie, this whole dessert never touches heat.
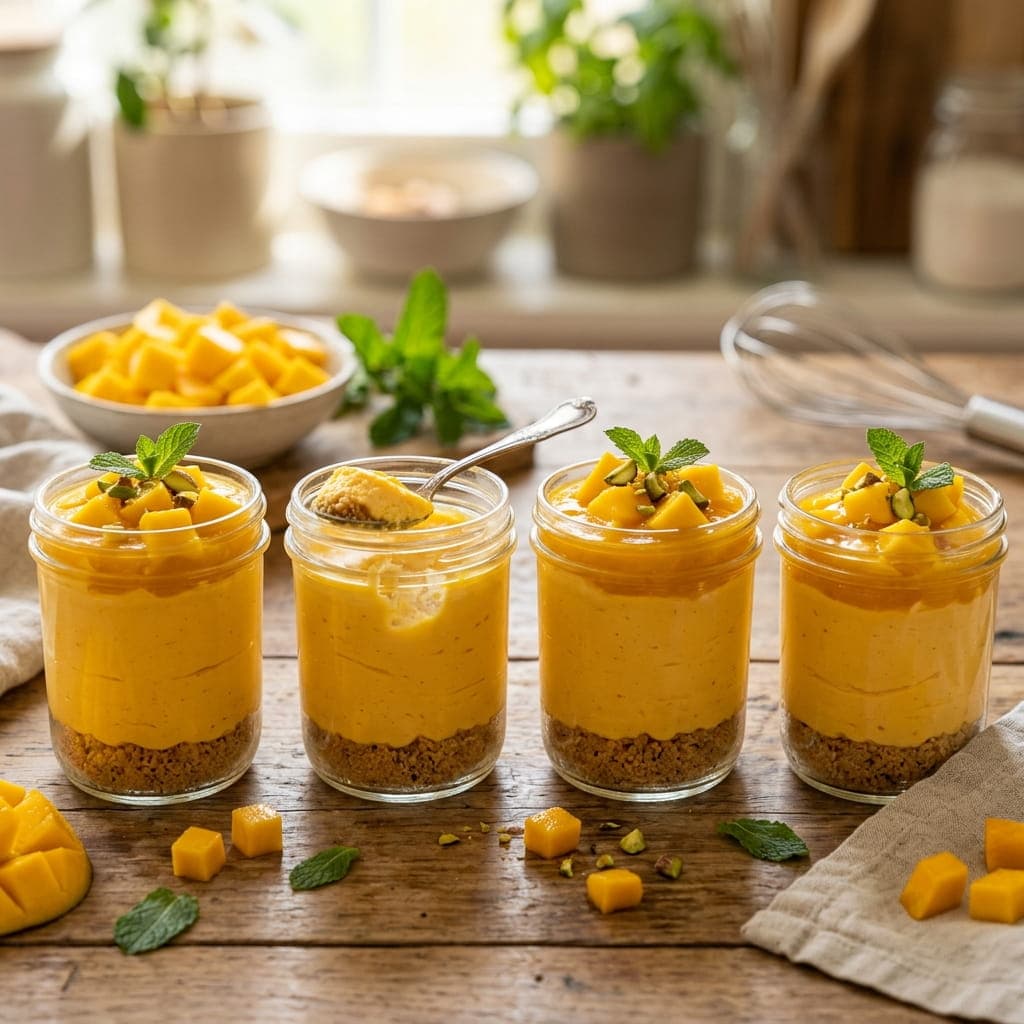
Blending fresh mango into a smooth puree rather than folding in chunks is what keeps this cheesecake filling silky throughout, with concentrated tropical flavor in every spoonful instead of occasional bursts. Layered in individual jars with a crumbled biscuit base, these need only a fridge - no springform pan, no water bath, no oven.
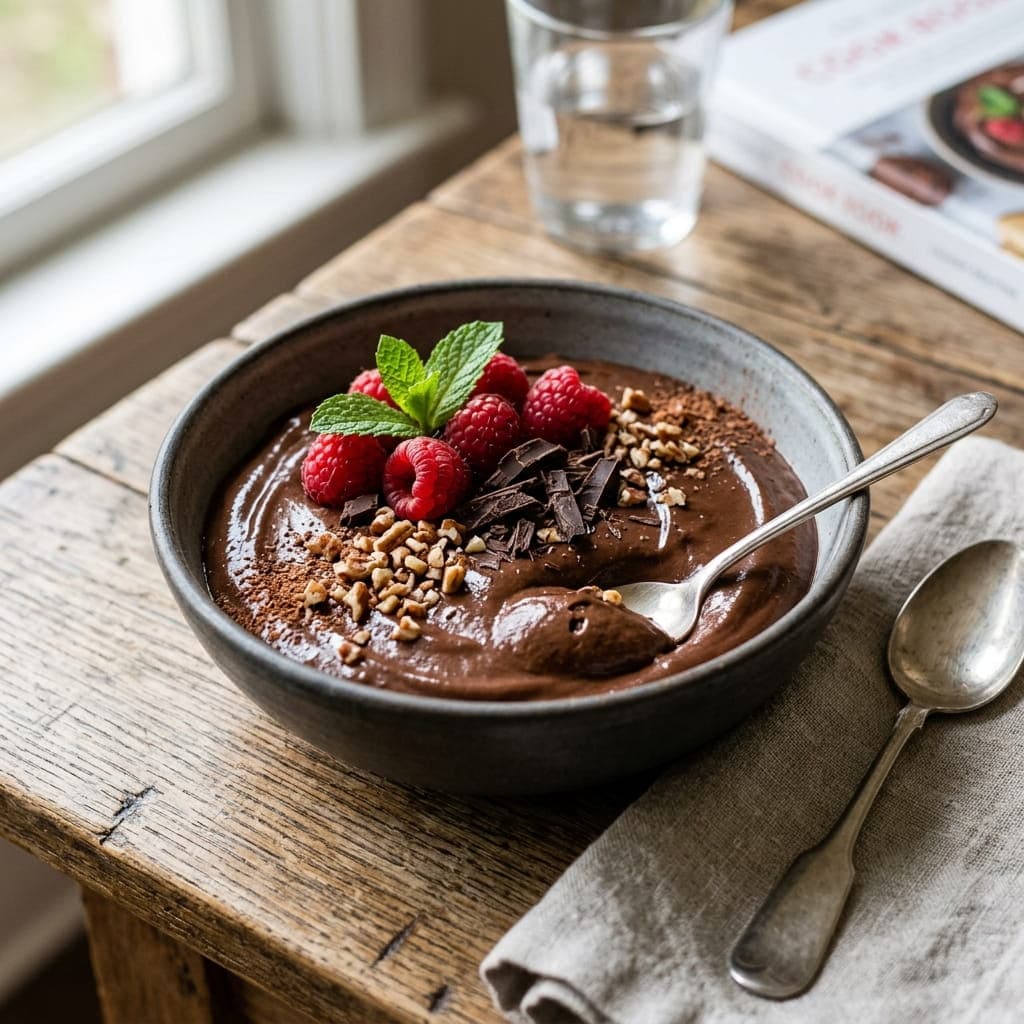
Ripe avocado blended smooth takes on the same rich, thick texture that heavy cream or eggs usually provide in a mousse, without tasting like avocado at all once cocoa powder and sweetener are mixed in. This comes together in a blender in minutes, no cooking or chilling equipment needed beyond a fridge.
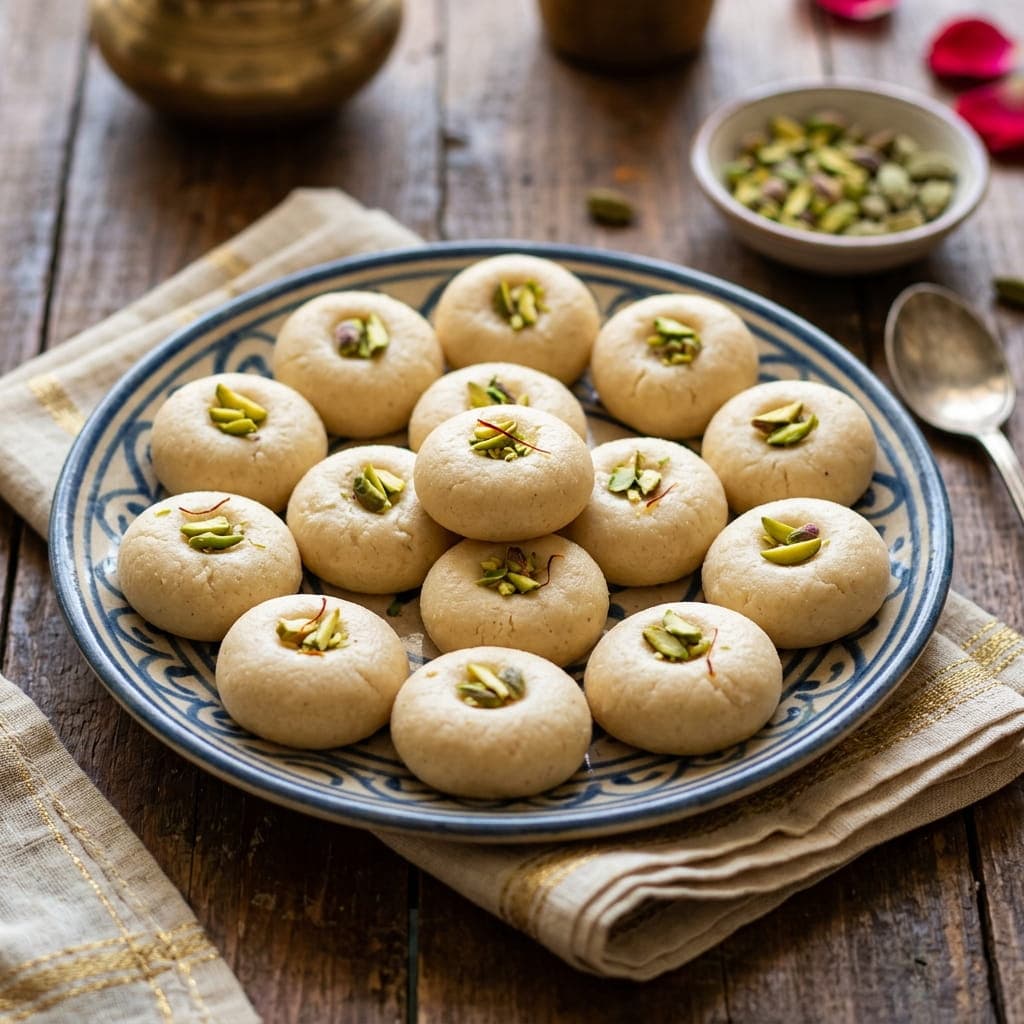
This shortcut version skips the hours of traditional milk-reduction that classic peda requires, using milk powder instead to reach that same dense, fudgy texture in a fraction of the time. Cooked briefly on the stovetop until it pulls away from the pan and cools enough to shape, these little discs are a staple sweet for Diwali, Eid, and other South Asian celebrations.