Loading...
Loading...
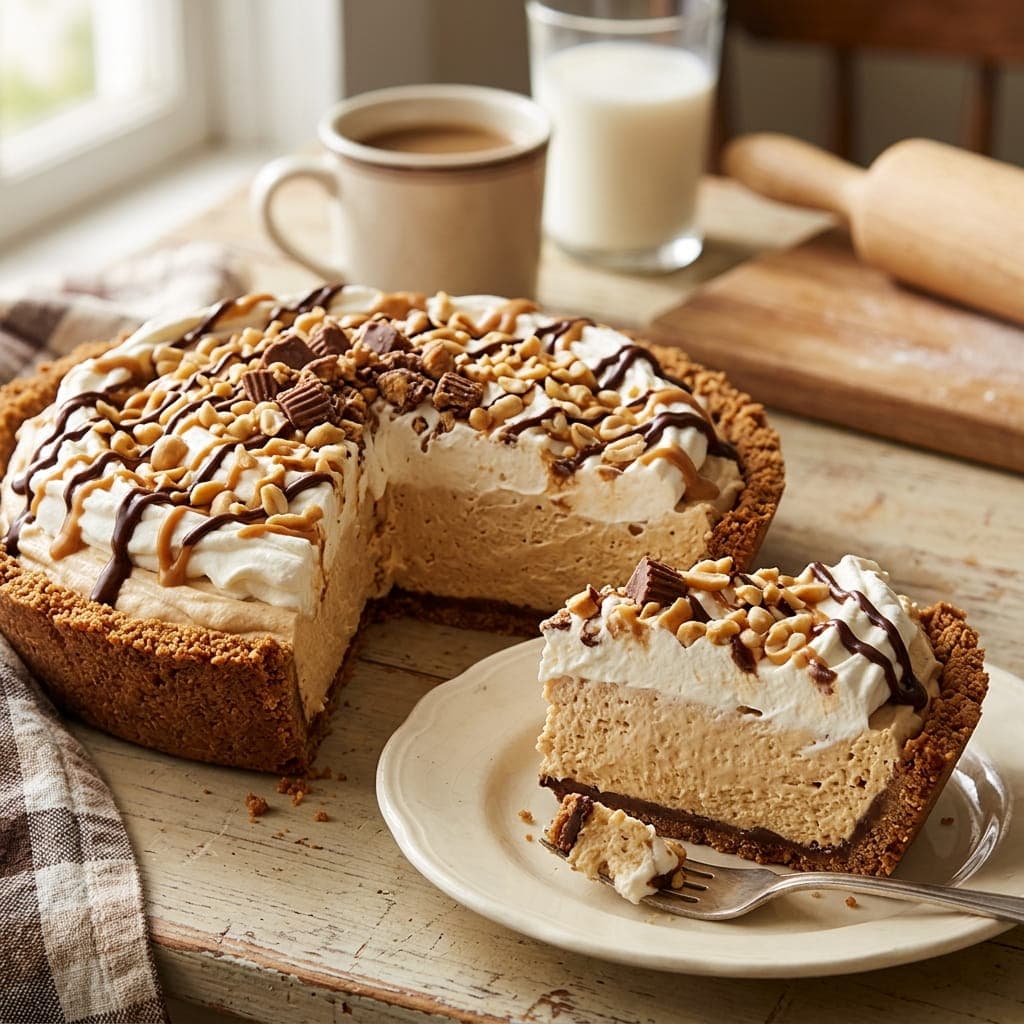
Beating the cream cheese completely smooth before adding peanut butter is what prevents lumps from ever forming in the filling - trying to fix them once the peanut butter goes in almost never fully works. A press-in graham cracker crust needs no oven at all, so from mixing bowl to sliced pie, this whole dessert never touches heat.
Per serving
520kcal
Calories
10g
Prep Time
30 min
Cook Time
0 min
Servings
8 people
Difficulty
easy
Protein
38g
Carbs
38g
Fat
2g
Fiber
28g
Sugar
Follow step-by-step with voice guidance.
In a bowl, combine the graham cracker crumbs, melted butter, and sugar, mixing until the texture resembles wet sand.
Press the mixture firmly into the bottom and up the sides of a 9-inch pie dish, using the back of a spoon to compact it evenly.
Refrigerate the crust for at least 20 minutes to firm up while you make the filling.
In a large bowl, beat the softened cream cheese until completely smooth and free of lumps.
Add the peanut butter and powdered sugar, beating until well combined and smooth.
In a separate bowl, whip the heavy cream to stiff peaks, then gently fold it into the peanut butter mixture in two additions until fully incorporated.
Spread the filling evenly into the chilled crust, smoothing the top.
Refrigerate for at least 4 hours, or overnight, until fully set.
Before serving, drizzle with melted chocolate or chocolate syrup and sprinkle with chopped peanuts if desired.
Beat the Cream Cheese Smooth First: Getting it fully lump-free before adding the peanut butter is much easier than trying to smooth out lumps afterward, which rarely works completely. Whip the Cream to Stiff, Not Soft, Peaks: A firmer whip holds its structure better when folded into the dense peanut butter mixture, helping the filling set properly. Give It Enough Time to Chill: A full 4 hours (or overnight) is needed for the pie to set firmly enough to slice cleanly - cutting into it too early results in a filling that's still too soft.
Yes, a pre-made 9-inch graham cracker crust works as a convenient shortcut and saves prep time.
0 reviews • 0.0 / 5 Average Rating
No reviews yet. Be the first to review this recipe!
More Like This
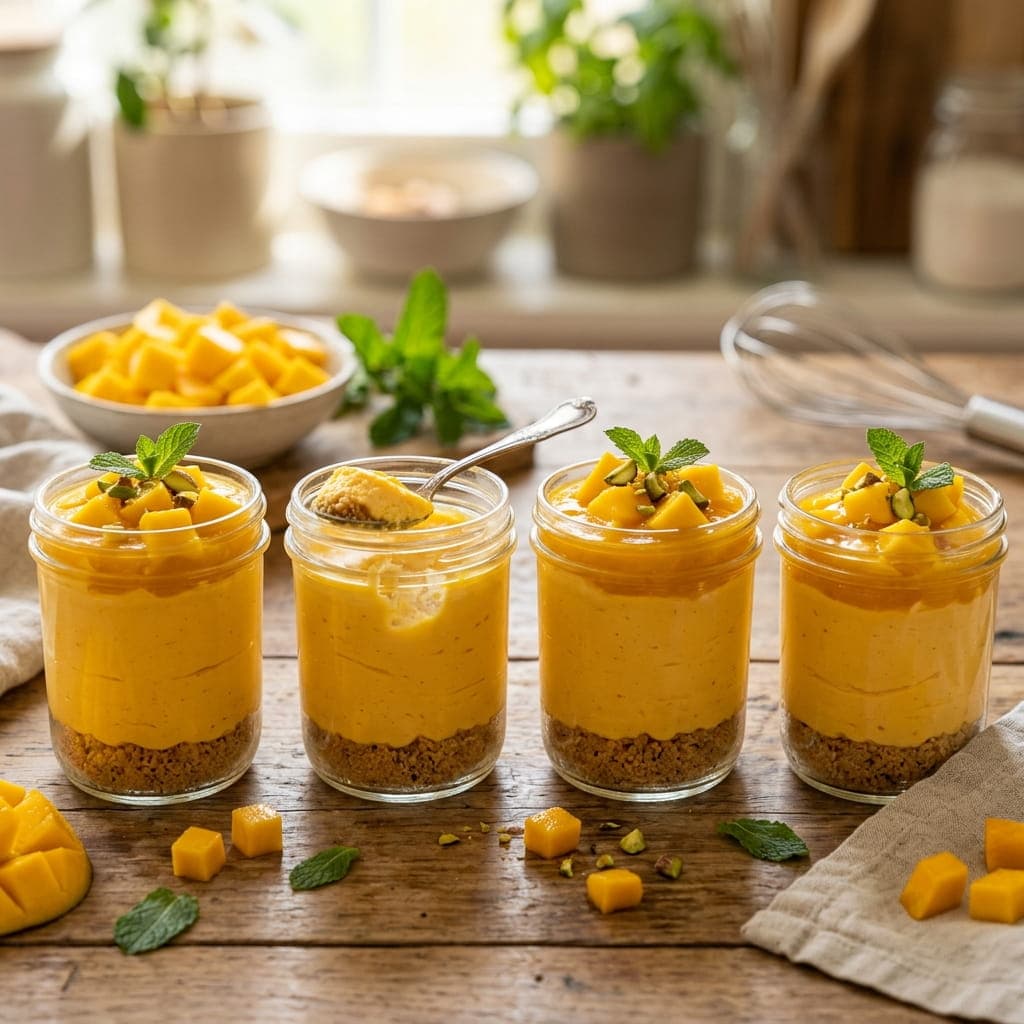
Blending fresh mango into a smooth puree rather than folding in chunks is what keeps this cheesecake filling silky throughout, with concentrated tropical flavor in every spoonful instead of occasional bursts. Layered in individual jars with a crumbled biscuit base, these need only a fridge - no springform pan, no water bath, no oven.
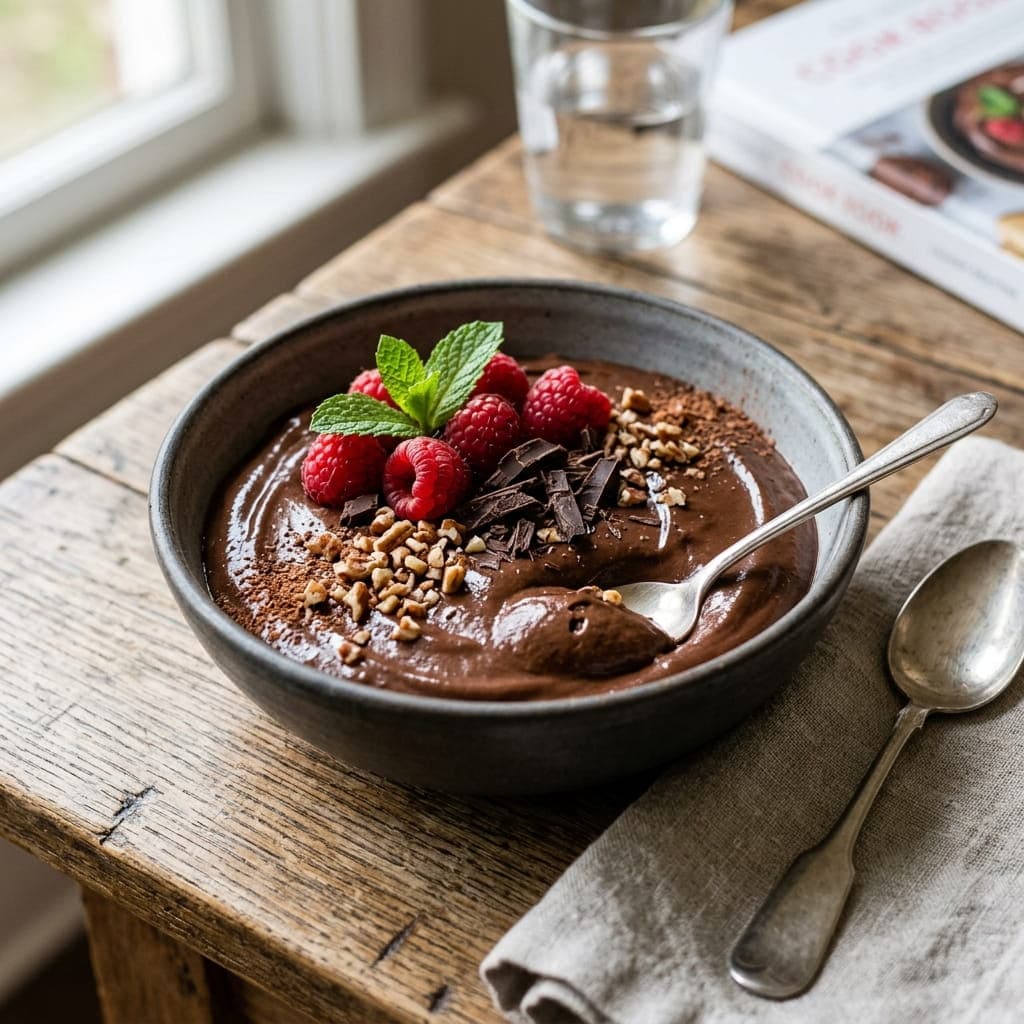
Ripe avocado blended smooth takes on the same rich, thick texture that heavy cream or eggs usually provide in a mousse, without tasting like avocado at all once cocoa powder and sweetener are mixed in. This comes together in a blender in minutes, no cooking or chilling equipment needed beyond a fridge.
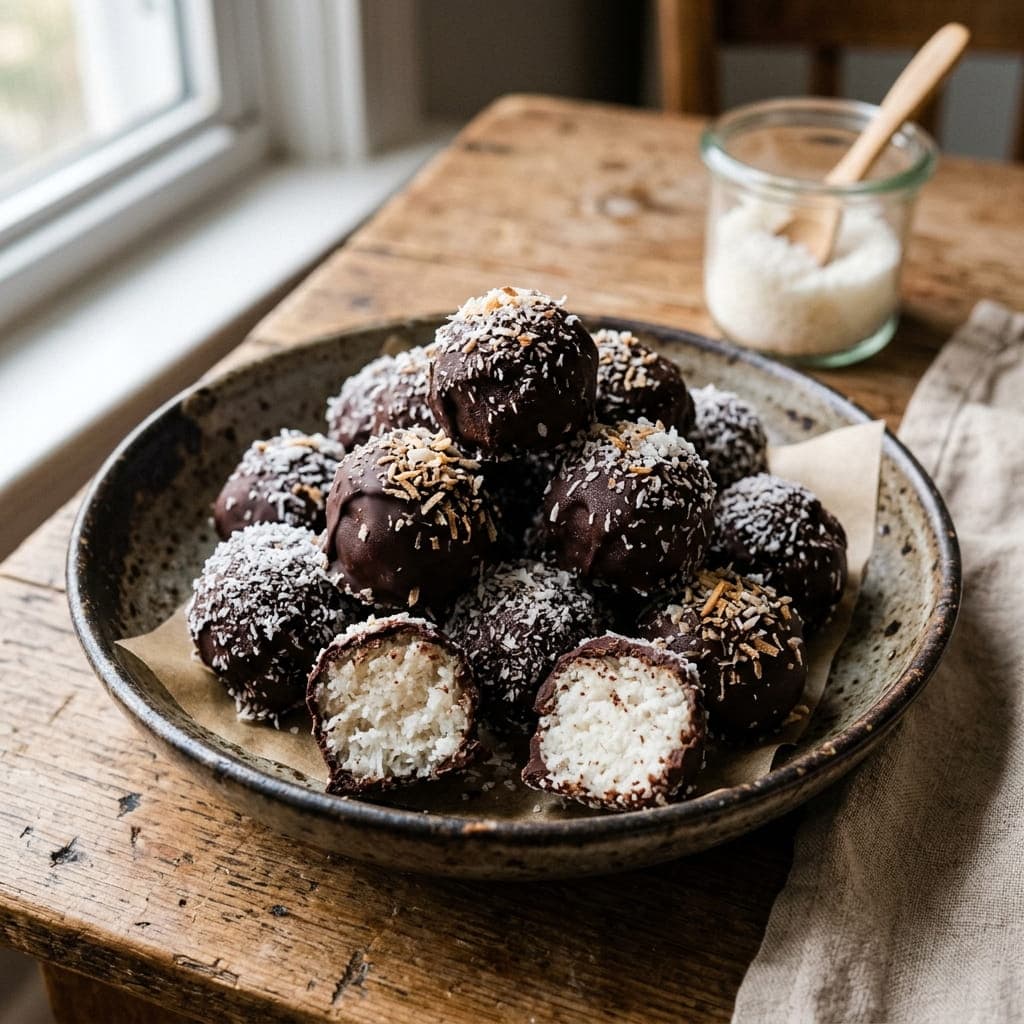
Chilling the shredded coconut mixture before rolling it into balls is what keeps the coconut oil solid enough to hold its shape - try rolling it while still soft and warm and it falls apart in your hands. Dipped in melted dark chocolate and left to set, these come together as a naturally sweetened, entirely plant-based treat close to a homemade Bounty bar.
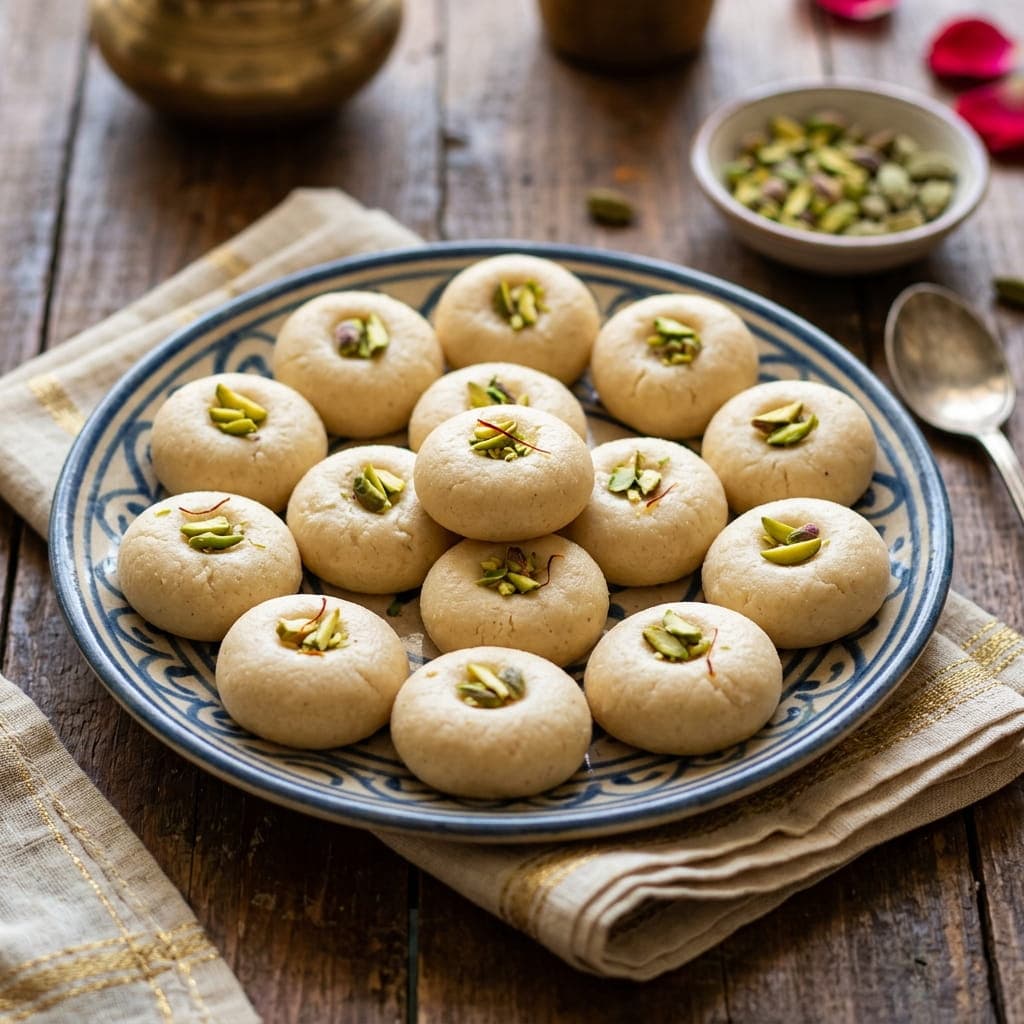
This shortcut version skips the hours of traditional milk-reduction that classic peda requires, using milk powder instead to reach that same dense, fudgy texture in a fraction of the time. Cooked briefly on the stovetop until it pulls away from the pan and cools enough to shape, these little discs are a staple sweet for Diwali, Eid, and other South Asian celebrations.