Loading...
Loading...
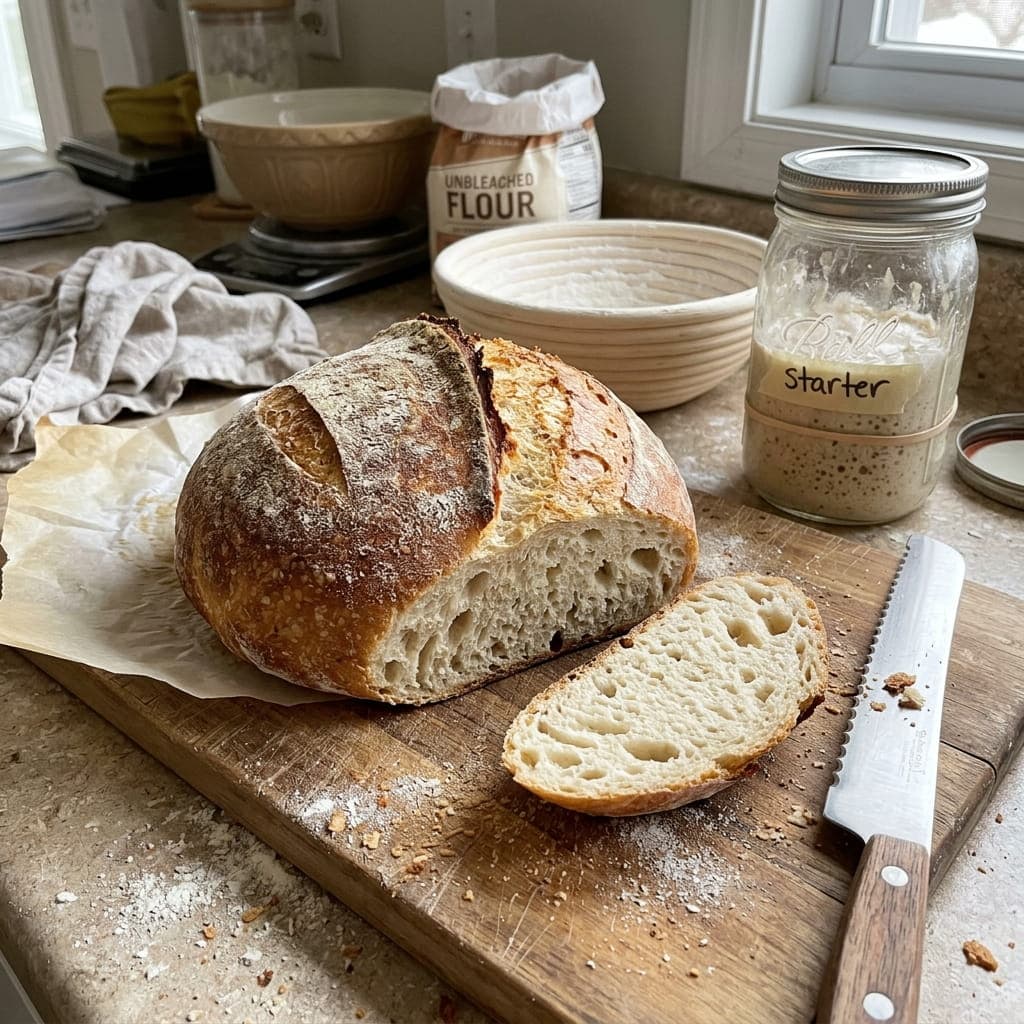
This relies on stretch and folds every 30 minutes during bulk fermentation instead of traditional kneading, a gentler technique that builds gluten strength in a wet sourdough dough without the mess of hand kneading a sticky mass. Baking the loaf inside a covered Dutch oven traps steam naturally, giving even a first attempt the kind of blistered, crackling crust that usually takes practice to achieve.
Per serving
150kcal
Calories
5g
Protein
31g
Carbs
1g
Fat
1g
Fiber
Prep Time
45 min
Cook Time
45 min
Servings
10 people
Difficulty
hard
Follow step-by-step with voice guidance.
In a large bowl, combine the active sourdough starter and water, and mix until the starter is dissolved.
Add the flour and salt, and mix until a shaggy dough forms.
Let the dough rest for 30 minutes.
Perform a set of stretch and folds, pulling one side of the dough up and over itself, rotating the bowl, and repeating 4 times.
Cover and let the dough rest for 30 minutes, then repeat the stretch and folds 3 more times over the next 2 hours.
Cover and let the dough bulk ferment at room temperature for 4 to 6 hours, until noticeably puffy.
Turn the dough out, shape it into a round, and place it seam side up in a floured proofing basket.
Cover and refrigerate overnight, for 8 to 12 hours.
Preheat the oven to 230°C (450°F) with a Dutch oven inside for at least 30 minutes.
Turn the cold dough out onto parchment paper, score the top with a sharp blade, and carefully lower it into the hot Dutch oven.
Cover and bake for 20 minutes, then remove the lid and bake for another 20 to 25 minutes, until deeply golden.
Cool on a wire rack for at least 1 hour before slicing.
Use Stretch and Folds Instead of Kneading: This gentler technique builds gluten strength in wet sourdough dough without the mess of traditional hand kneading. Bake in a Covered Dutch Oven: The trapped steam mimics a professional steam injected oven, giving even a first loaf a proper blistered crust. Let It Cool Completely Before Slicing: Cutting into sourdough too early lets steam escape and can leave the crumb gummy, so patience here really pays off.
A ready starter should have roughly doubled in size a few hours after feeding, look bubbly throughout, and pass the float test, where a spoonful dropped in water floats rather than sinks.
0 reviews • 0.0 / 5 Average Rating
No reviews yet. Be the first to review this recipe!
More Like This
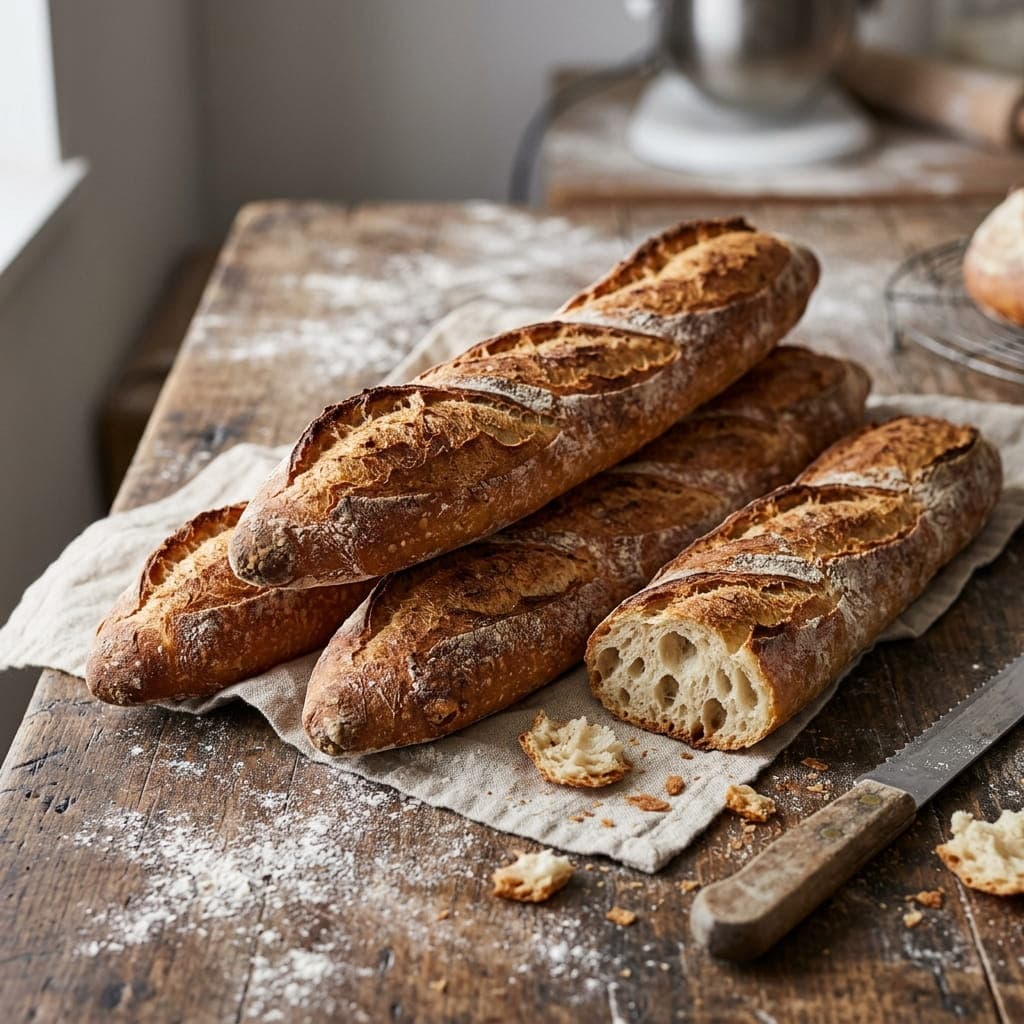
This uses a long, slow cold fermentation in the fridge overnight rather than rushing the rise at room temperature, since that extended time is what develops the deep, wheaty flavor a real French baguette depends on. Baking with steam in the first several minutes is what forces the crust to stay soft just long enough for a dramatic oven spring, before it sets into that signature crackling shell.
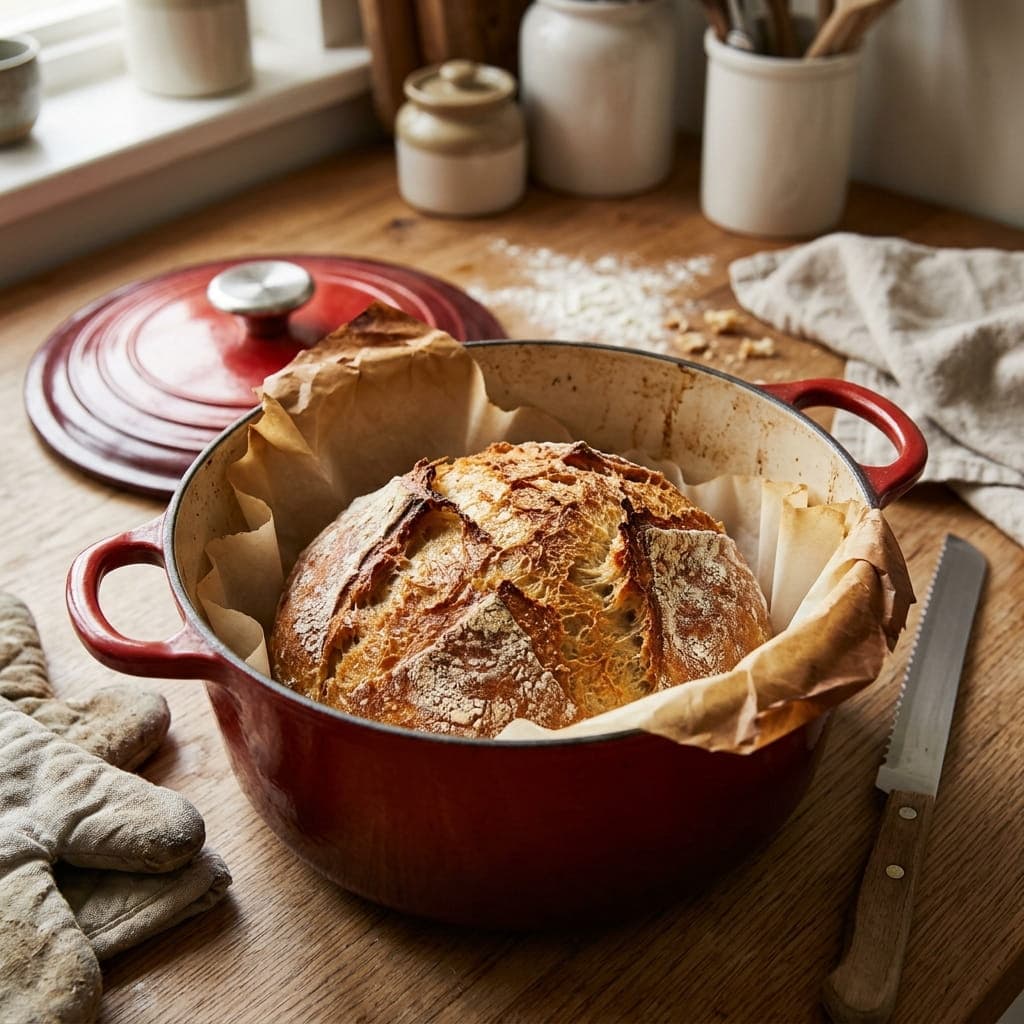
This skips kneading entirely and instead relies on a very long, slow rise, since extended time develops the gluten structure on its own, which is what makes this method so forgiving for a first attempt at homemade bread. Baking inside a covered Dutch oven traps the dough's own steam, giving even this simple, hands off recipe a crackling, bakery style crust.
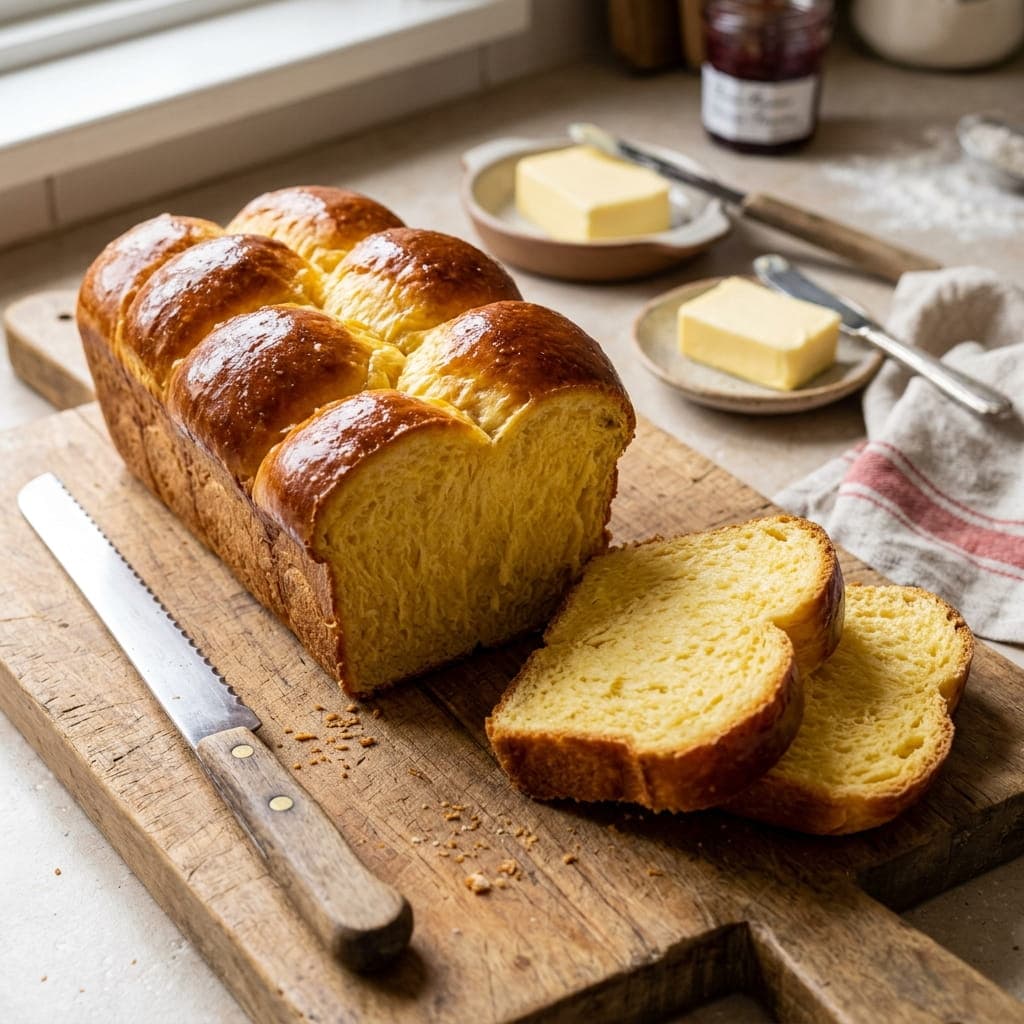
This adds the butter to the dough gradually, only once the base dough has already developed some gluten structure through kneading, since dumping in all that fat too early would coat the flour and prevent proper gluten formation. A cold overnight rest in the fridge firms the very soft, buttery dough back up, which is what makes it possible to shape without it collapsing into a sticky mess.
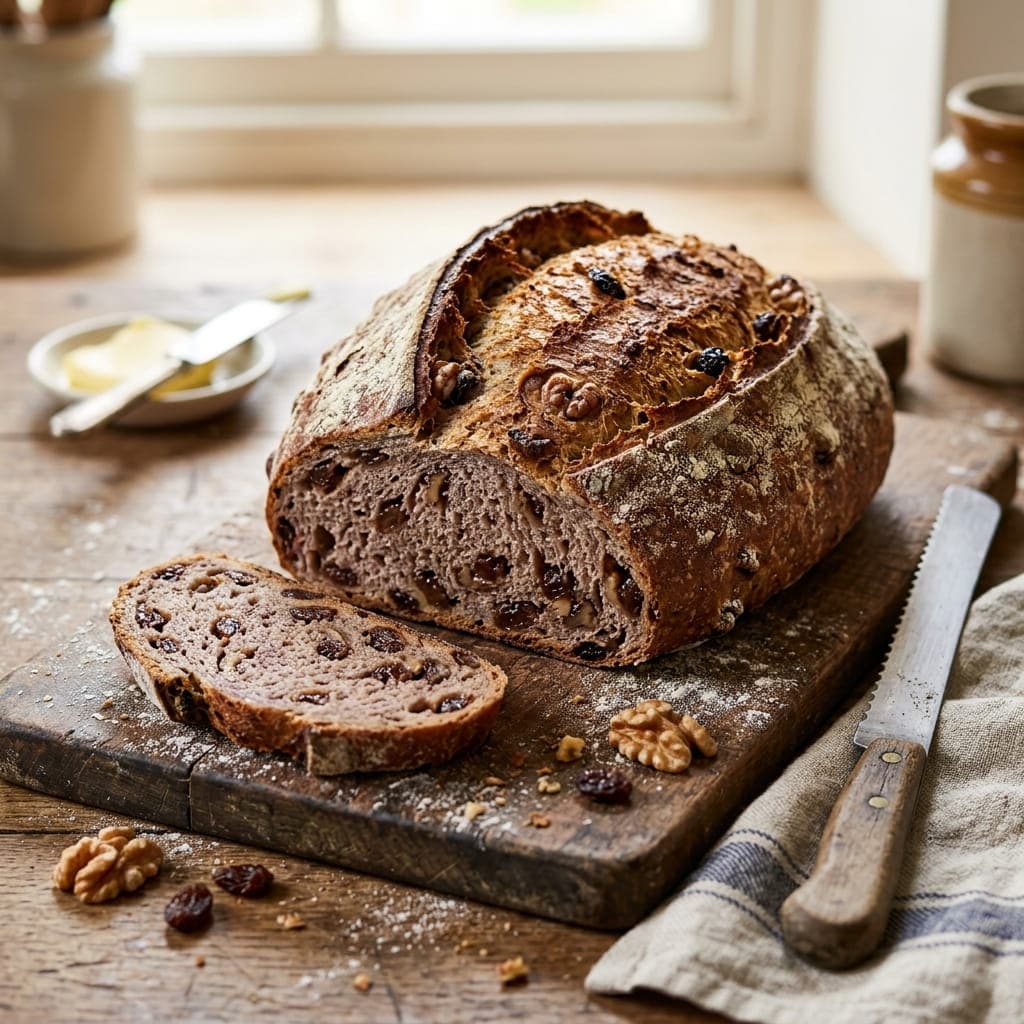
This soaks the raisins in warm water briefly before folding them into the dough, which plumps them back up so they bake into soft, juicy bites instead of drying out further in the oven's heat. Toasting the walnuts beforehand deepens their flavor, giving the finished loaf a richer, nuttier bite than simply folding them in raw.