Loading...
Loading...
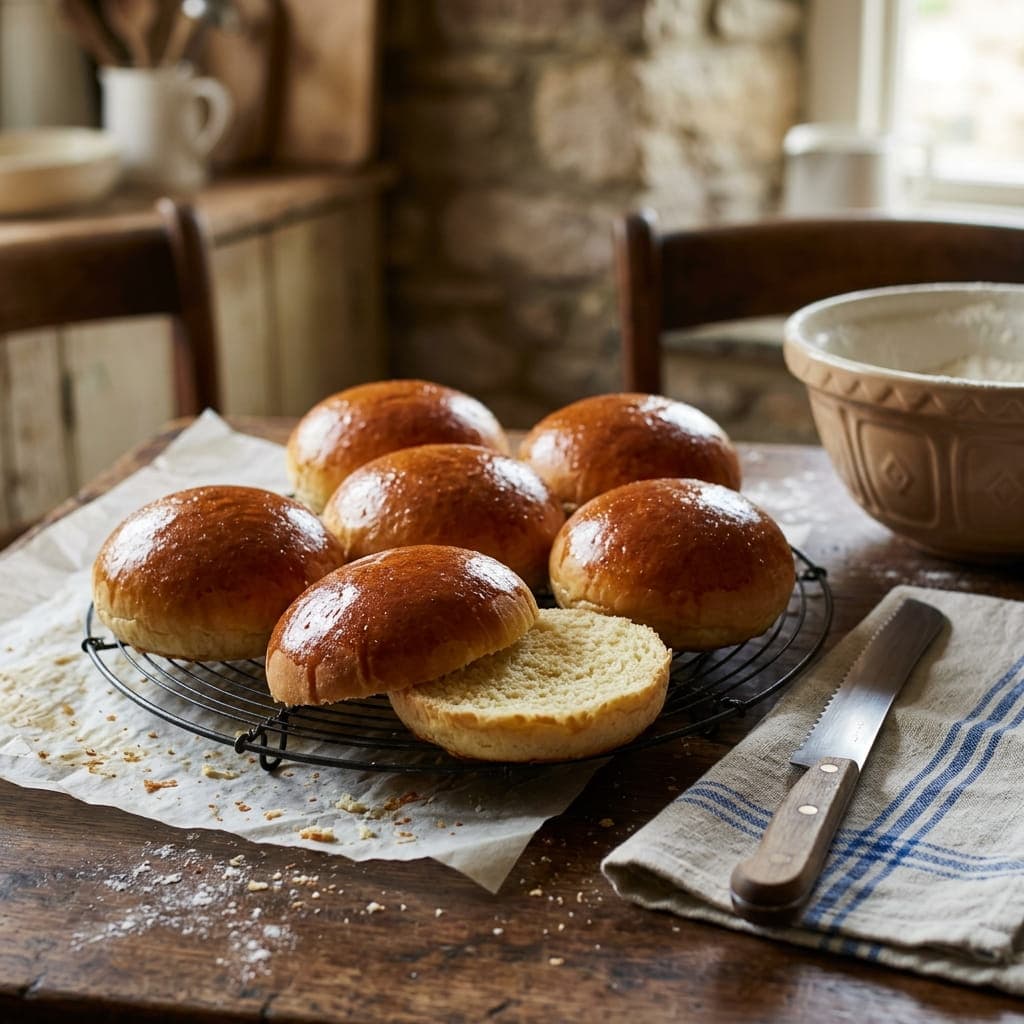
This works the butter into the dough gradually, only after the base has developed some gluten structure, since adding all that fat at once would coat the flour and prevent the dough from building the strength it needs to rise properly. Shaping the buns into tight, smooth rounds and letting them chill briefly before their final rise is what keeps them from spreading too flat once they hit the hot oven.
Per serving
280kcal
Calories
7g
Protein
30g
Carbs
Prep Time
40 min
Cook Time
18 min
Servings
8 people
Difficulty
hard
14g
Fat
1g
Fiber
5g
Sugar
Follow step-by-step with voice guidance.
In a large bowl, combine the flour, yeast, sugar, and salt.
Add the eggs and milk, and mix until a shaggy dough forms.
Knead for 8 to 10 minutes, until smooth.
Add the softened butter a few tablespoons at a time, kneading well after each addition, until fully incorporated and the dough is smooth and glossy.
Place the dough in an oiled bowl, cover, and let rise for 1.5 to 2 hours, until doubled.
Punch down the dough and divide it into 8 equal pieces, shaping each into a tight, smooth ball.
Place the buns on a baking sheet, spaced apart, cover, and let rise for 1 hour, until puffy.
Preheat the oven to 180°C (350°F).
Brush the tops with the beaten egg wash and sprinkle with sesame seeds, if using.
Bake for 15 to 18 minutes, until deeply golden.
Cool on a wire rack before slicing and using for burgers.
Add the Butter Gradually: Working it in a little at a time after the dough already has some gluten structure is what keeps these buns properly soft and airy rather than dense. Shape the Buns Tightly: Rolling them into smooth, taut balls helps them hold a neat round shape instead of spreading flat as they bake. Watch the Bake Closely: The high butter and egg content means these buns brown quickly, so keep an eye on them in the final few minutes.
Their rich, slightly sweet flavor and soft, tender crumb hold up well to juicy fillings without becoming soggy, while still offering a more indulgent bite than a plain white bun.
0 reviews • 0.0 / 5 Average Rating
No reviews yet. Be the first to review this recipe!
More Like This
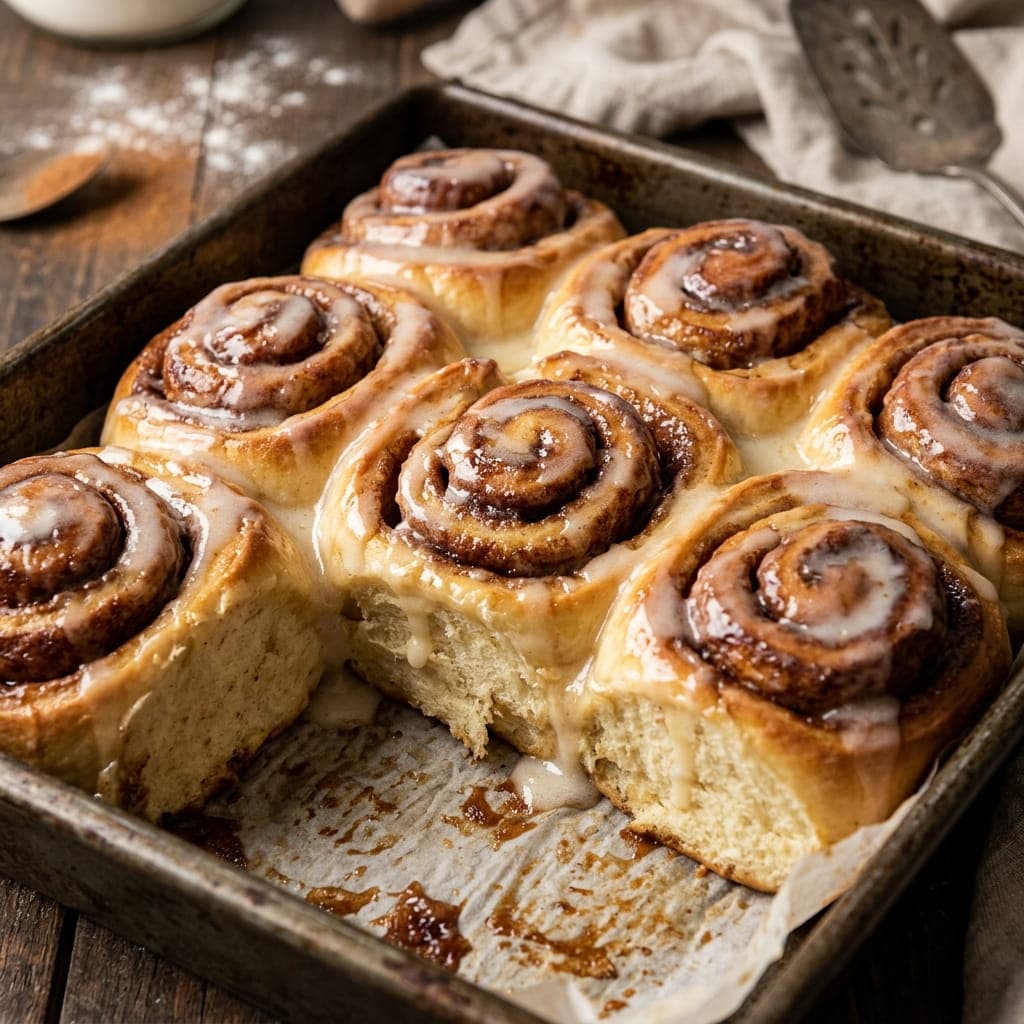
This spreads the softened butter all the way to the edges of the rolled out dough before adding the cinnamon sugar, since any bare spots are where the filling can't stick and will leak out as gaps once the rolls are sliced. Rolling the dough up tightly from the long side, rather than loosely, is what gives the finished rolls their tight, defined spiral instead of loose, uneven layers.
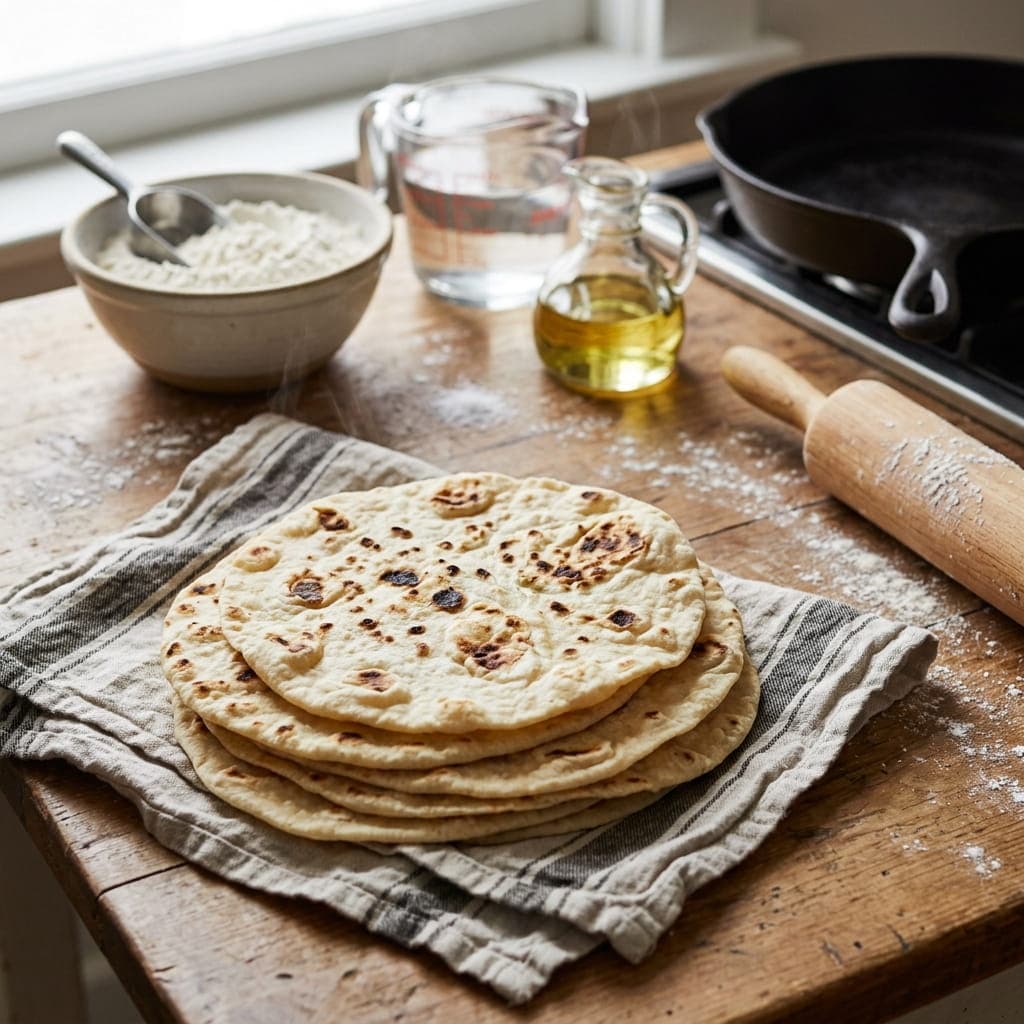
This lets the dough rest for a full 20 minutes before rolling, a step that relaxes the gluten enough to make the tortillas easy to stretch thin without snapping back into a smaller shape. Cooking them in a completely dry, hot skillet rather than one with oil is what gives these tortillas their characteristic light brown spots and soft, pliable texture.
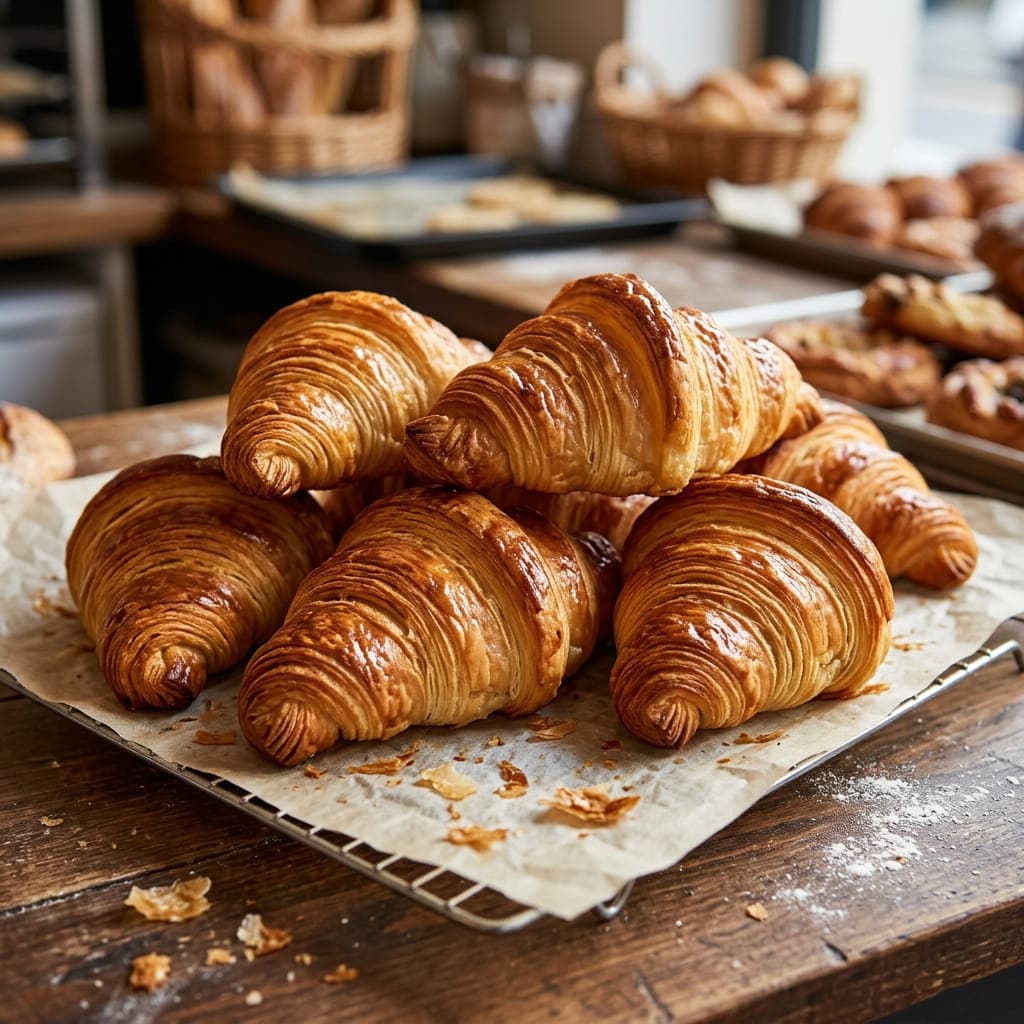
This relies on lamination, folding a solid block of cold butter into the dough and repeatedly rolling and folding it into thin layers, since it's those alternating layers of butter and dough that puff apart into hundreds of flaky sheets in the oven. Keeping everything cold throughout the process, chilling between every fold, is what prevents the butter from melting into the dough too early and turning the croissants dense instead of airy.
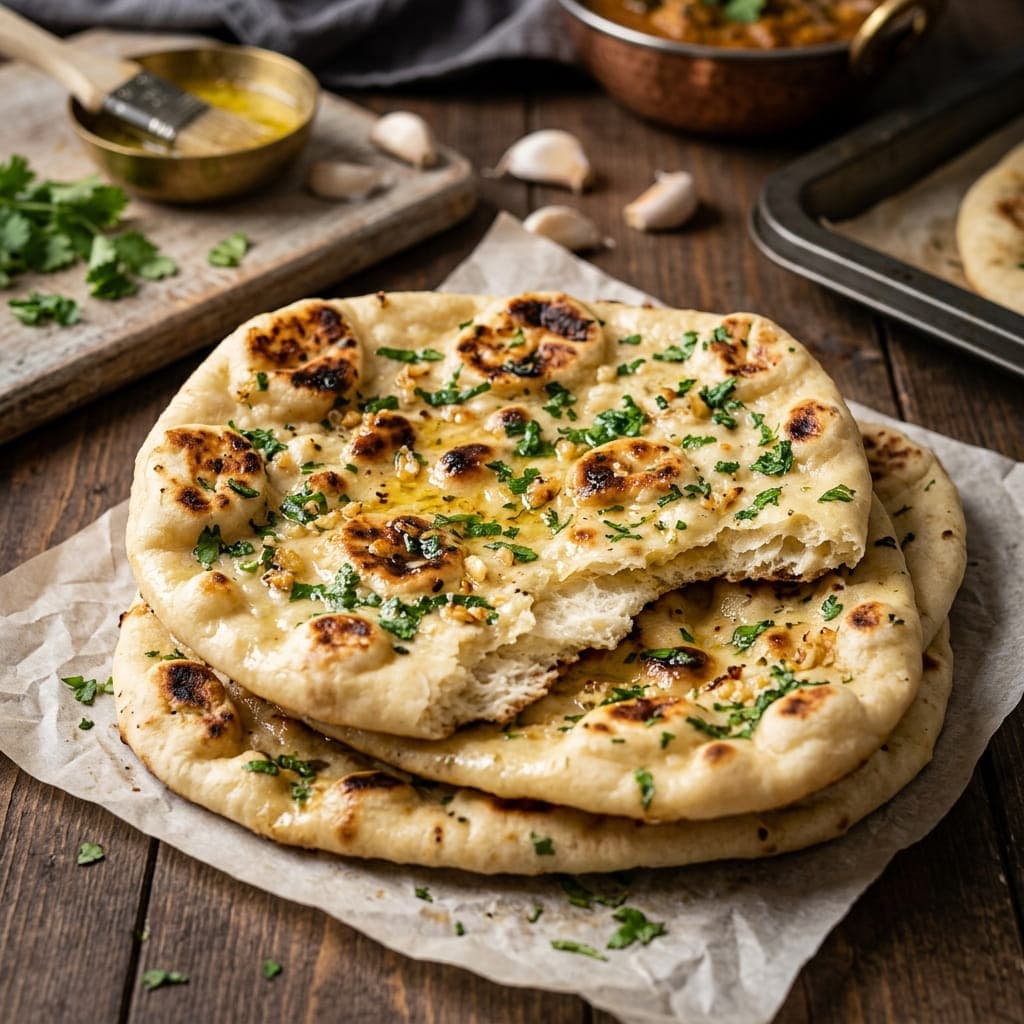
This builds the dough with yogurt instead of eggs, which is what gives naan its chewy texture and large, irregular air pockets rather than the tighter, cake like crumb that egg based versions produce. Cooking it in a screaming hot, dry skillet mimics the intense heat of a clay tandoor closely enough to get those same charred, bubbled spots without any special equipment.