Loading...
Loading...
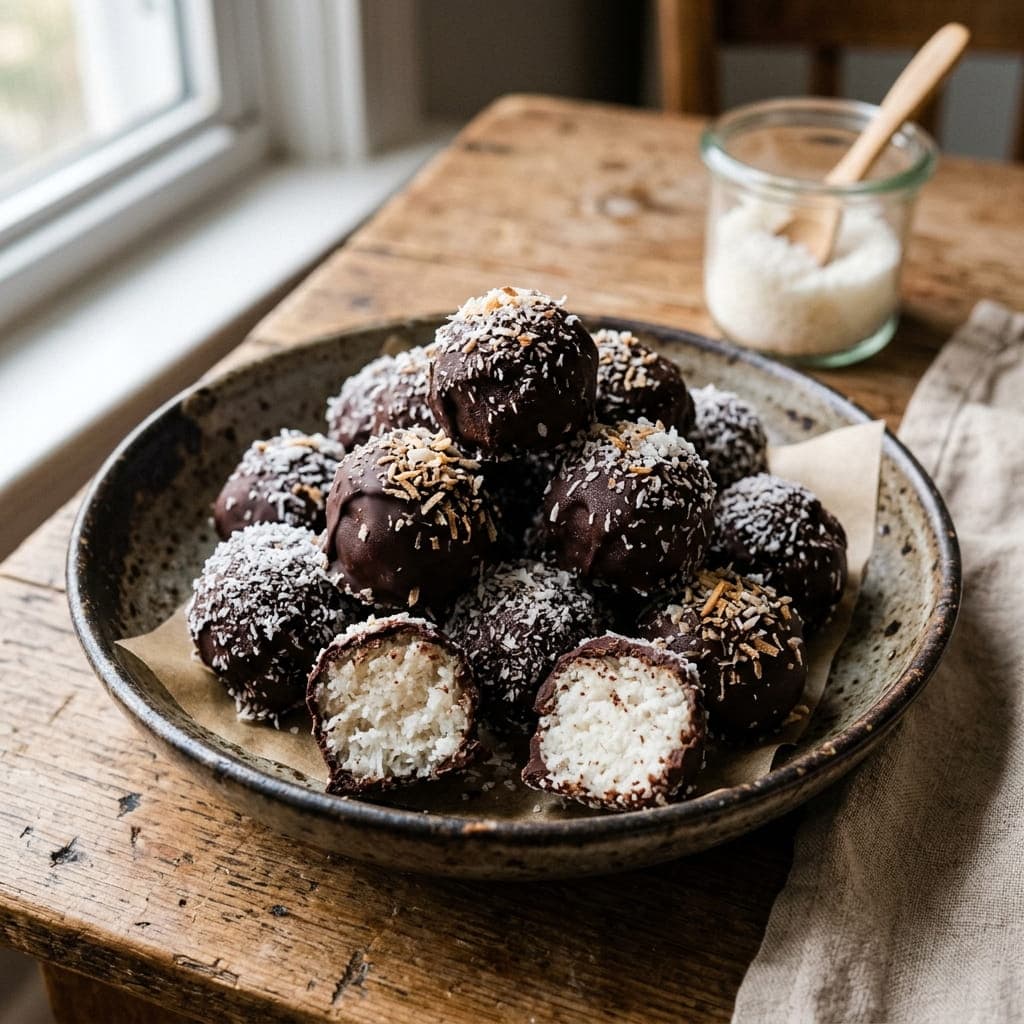
Chilling the shredded coconut mixture before rolling it into balls is what keeps the coconut oil solid enough to hold its shape - try rolling it while still soft and warm and it falls apart in your hands. Dipped in melted dark chocolate and left to set, these come together as a naturally sweetened, entirely plant-based treat close to a homemade Bounty bar.
Per serving
130kcal
Calories
1g
Protein
10g
Carbs
10g
Fat
2g
Fiber
Prep Time
20 min
Cook Time
0 min
Servings
16 people
Difficulty
easy
7g
Sugar
Follow step-by-step with voice guidance.
In a bowl, combine the shredded coconut, melted coconut oil, maple syrup, and vanilla extract, mixing until well combined and slightly sticky.
Cover and refrigerate the mixture for 20-30 minutes, until firm enough to shape.
Line a baking sheet with parchment paper.
Scoop tablespoon-sized portions of the coconut mixture and roll into balls between your palms, placing them on the prepared baking sheet.
Freeze the coconut balls for 15-20 minutes, until firm.
Melt the dark chocolate in a microwave-safe bowl in 30-second bursts, stirring between each, until smooth.
Dip each frozen coconut ball into the melted chocolate, using a fork to coat evenly and let excess drip off, then return to the parchment-lined sheet.
Refrigerate for at least 15 minutes, until the chocolate sets firmly.
Store in the refrigerator until ready to serve.
Chill the Coconut Mixture Before Rolling: This firms up the coconut oil enough to hold the balls together - rolling while still soft causes them to fall apart in your hands. Freeze Before Dipping in Chocolate: A brief freeze firms the coconut balls so they hold their shape and don't dissolve into the warm melted chocolate during dipping. Use a Fork for Dipping: This makes it easy to fully coat each ball and let excess chocolate drip off cleanly, rather than ending up with thick pools at the base.
Yes, but reduce the maple syrup slightly since sweetened coconut already contains added sugar, to avoid making the bites overly sweet.
0 reviews • 0.0 / 5 Average Rating
No reviews yet. Be the first to review this recipe!
More Like This
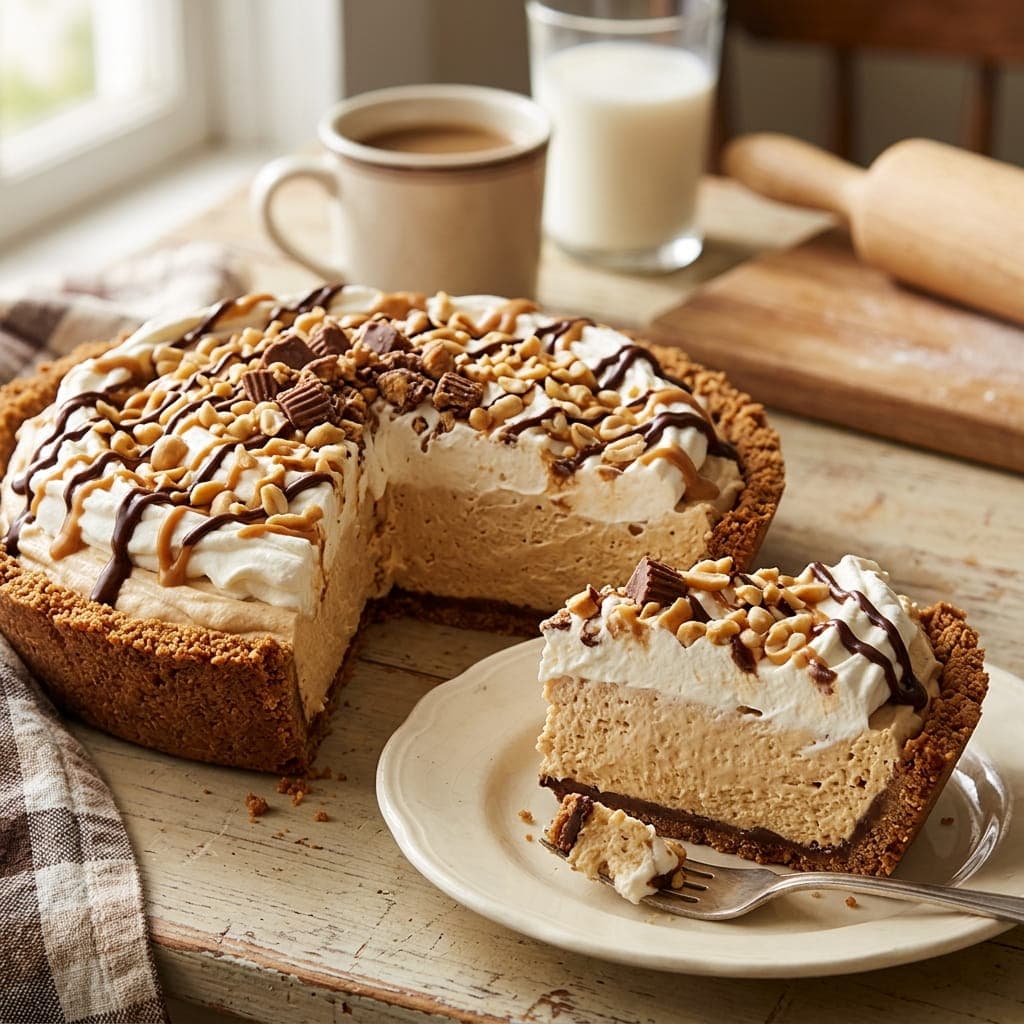
Beating the cream cheese completely smooth before adding peanut butter is what prevents lumps from ever forming in the filling - trying to fix them once the peanut butter goes in almost never fully works. A press-in graham cracker crust needs no oven at all, so from mixing bowl to sliced pie, this whole dessert never touches heat.
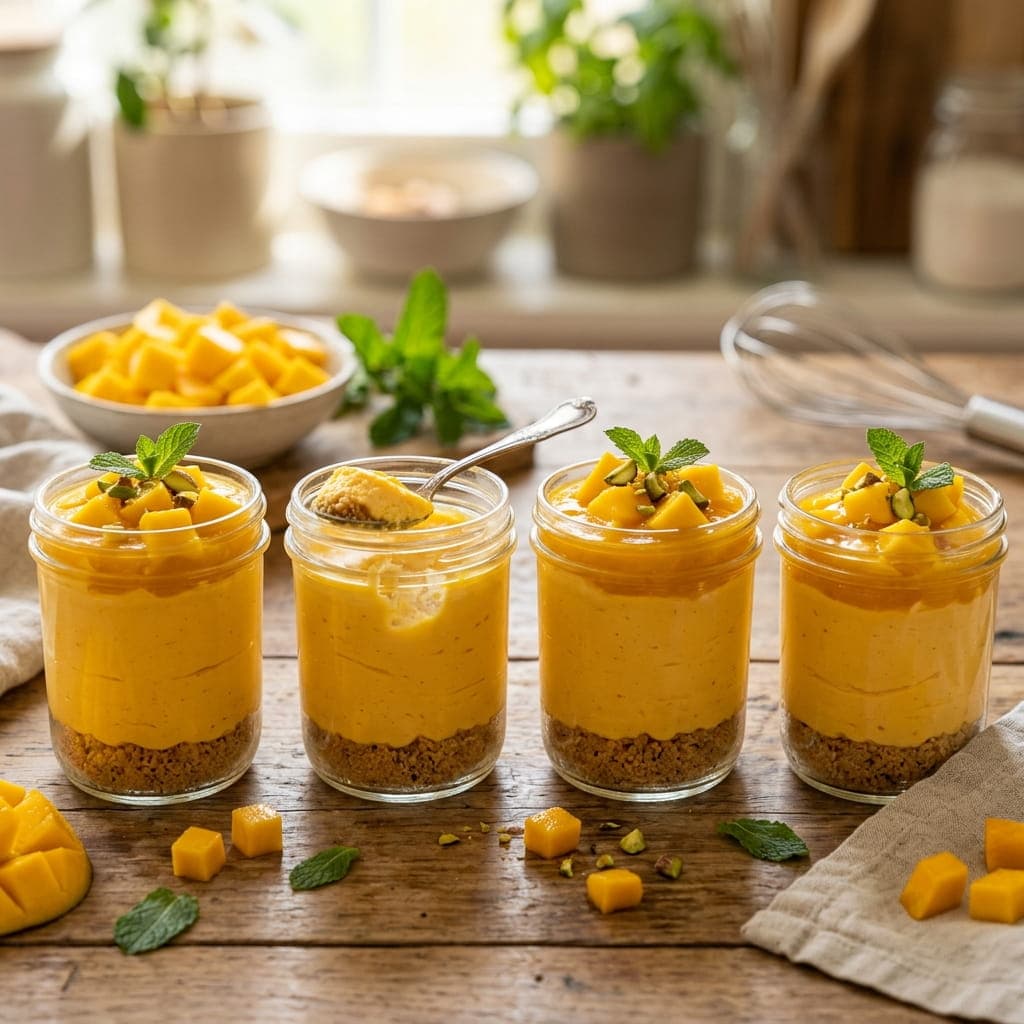
Blending fresh mango into a smooth puree rather than folding in chunks is what keeps this cheesecake filling silky throughout, with concentrated tropical flavor in every spoonful instead of occasional bursts. Layered in individual jars with a crumbled biscuit base, these need only a fridge - no springform pan, no water bath, no oven.
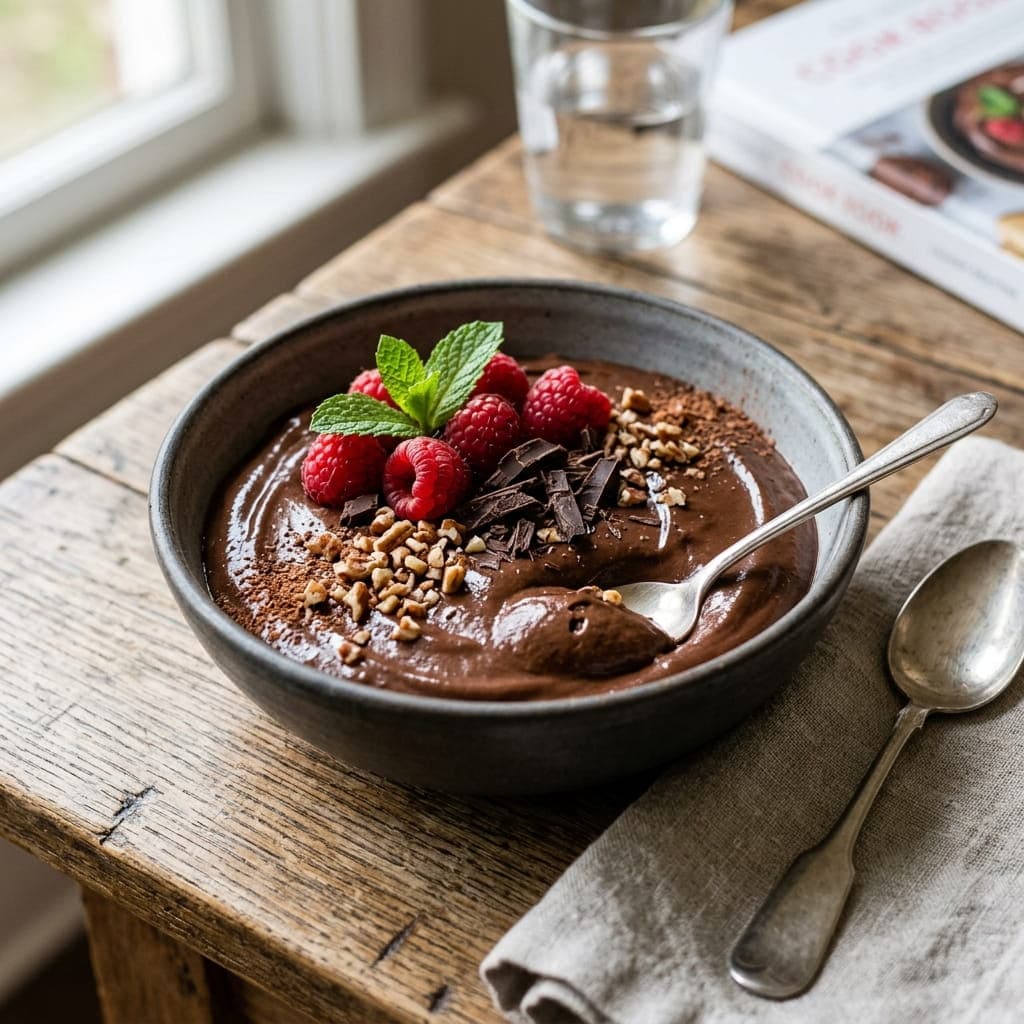
Ripe avocado blended smooth takes on the same rich, thick texture that heavy cream or eggs usually provide in a mousse, without tasting like avocado at all once cocoa powder and sweetener are mixed in. This comes together in a blender in minutes, no cooking or chilling equipment needed beyond a fridge.
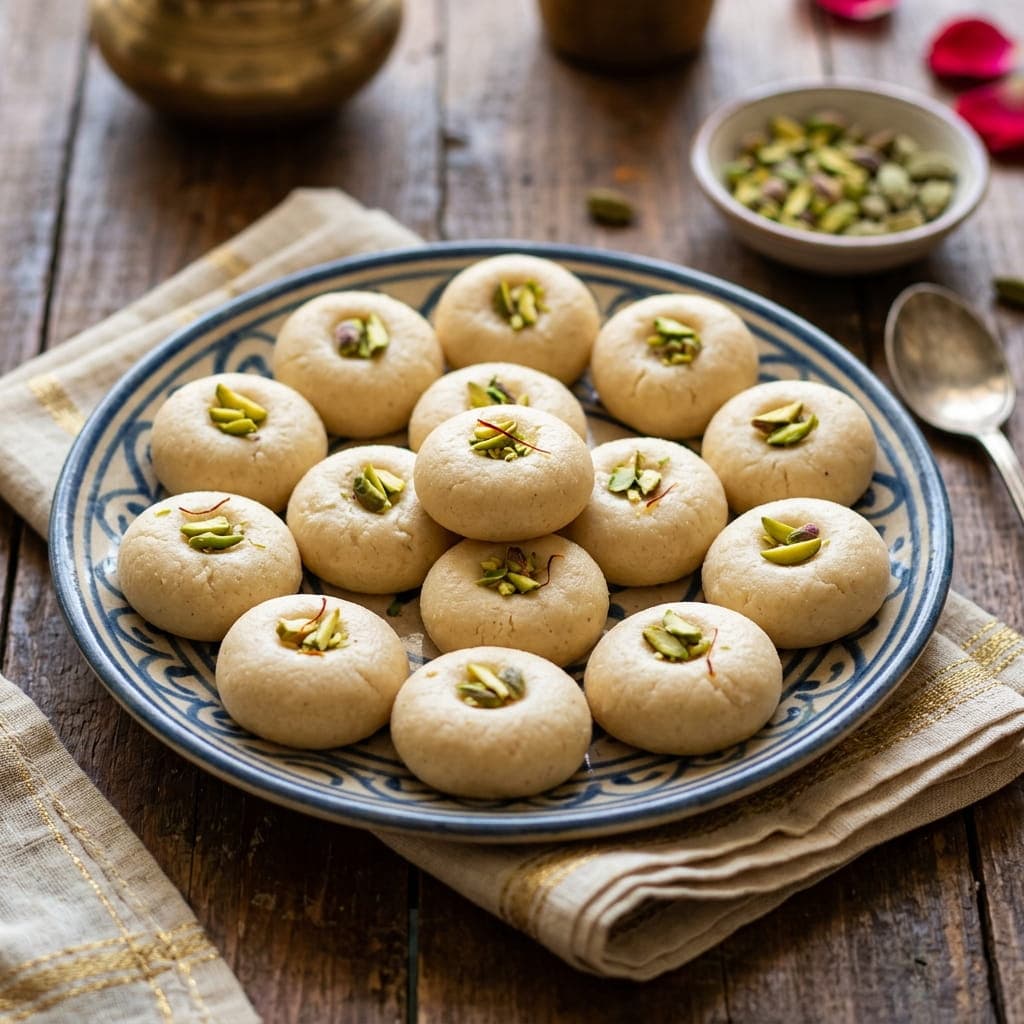
This shortcut version skips the hours of traditional milk-reduction that classic peda requires, using milk powder instead to reach that same dense, fudgy texture in a fraction of the time. Cooked briefly on the stovetop until it pulls away from the pan and cools enough to shape, these little discs are a staple sweet for Diwali, Eid, and other South Asian celebrations.